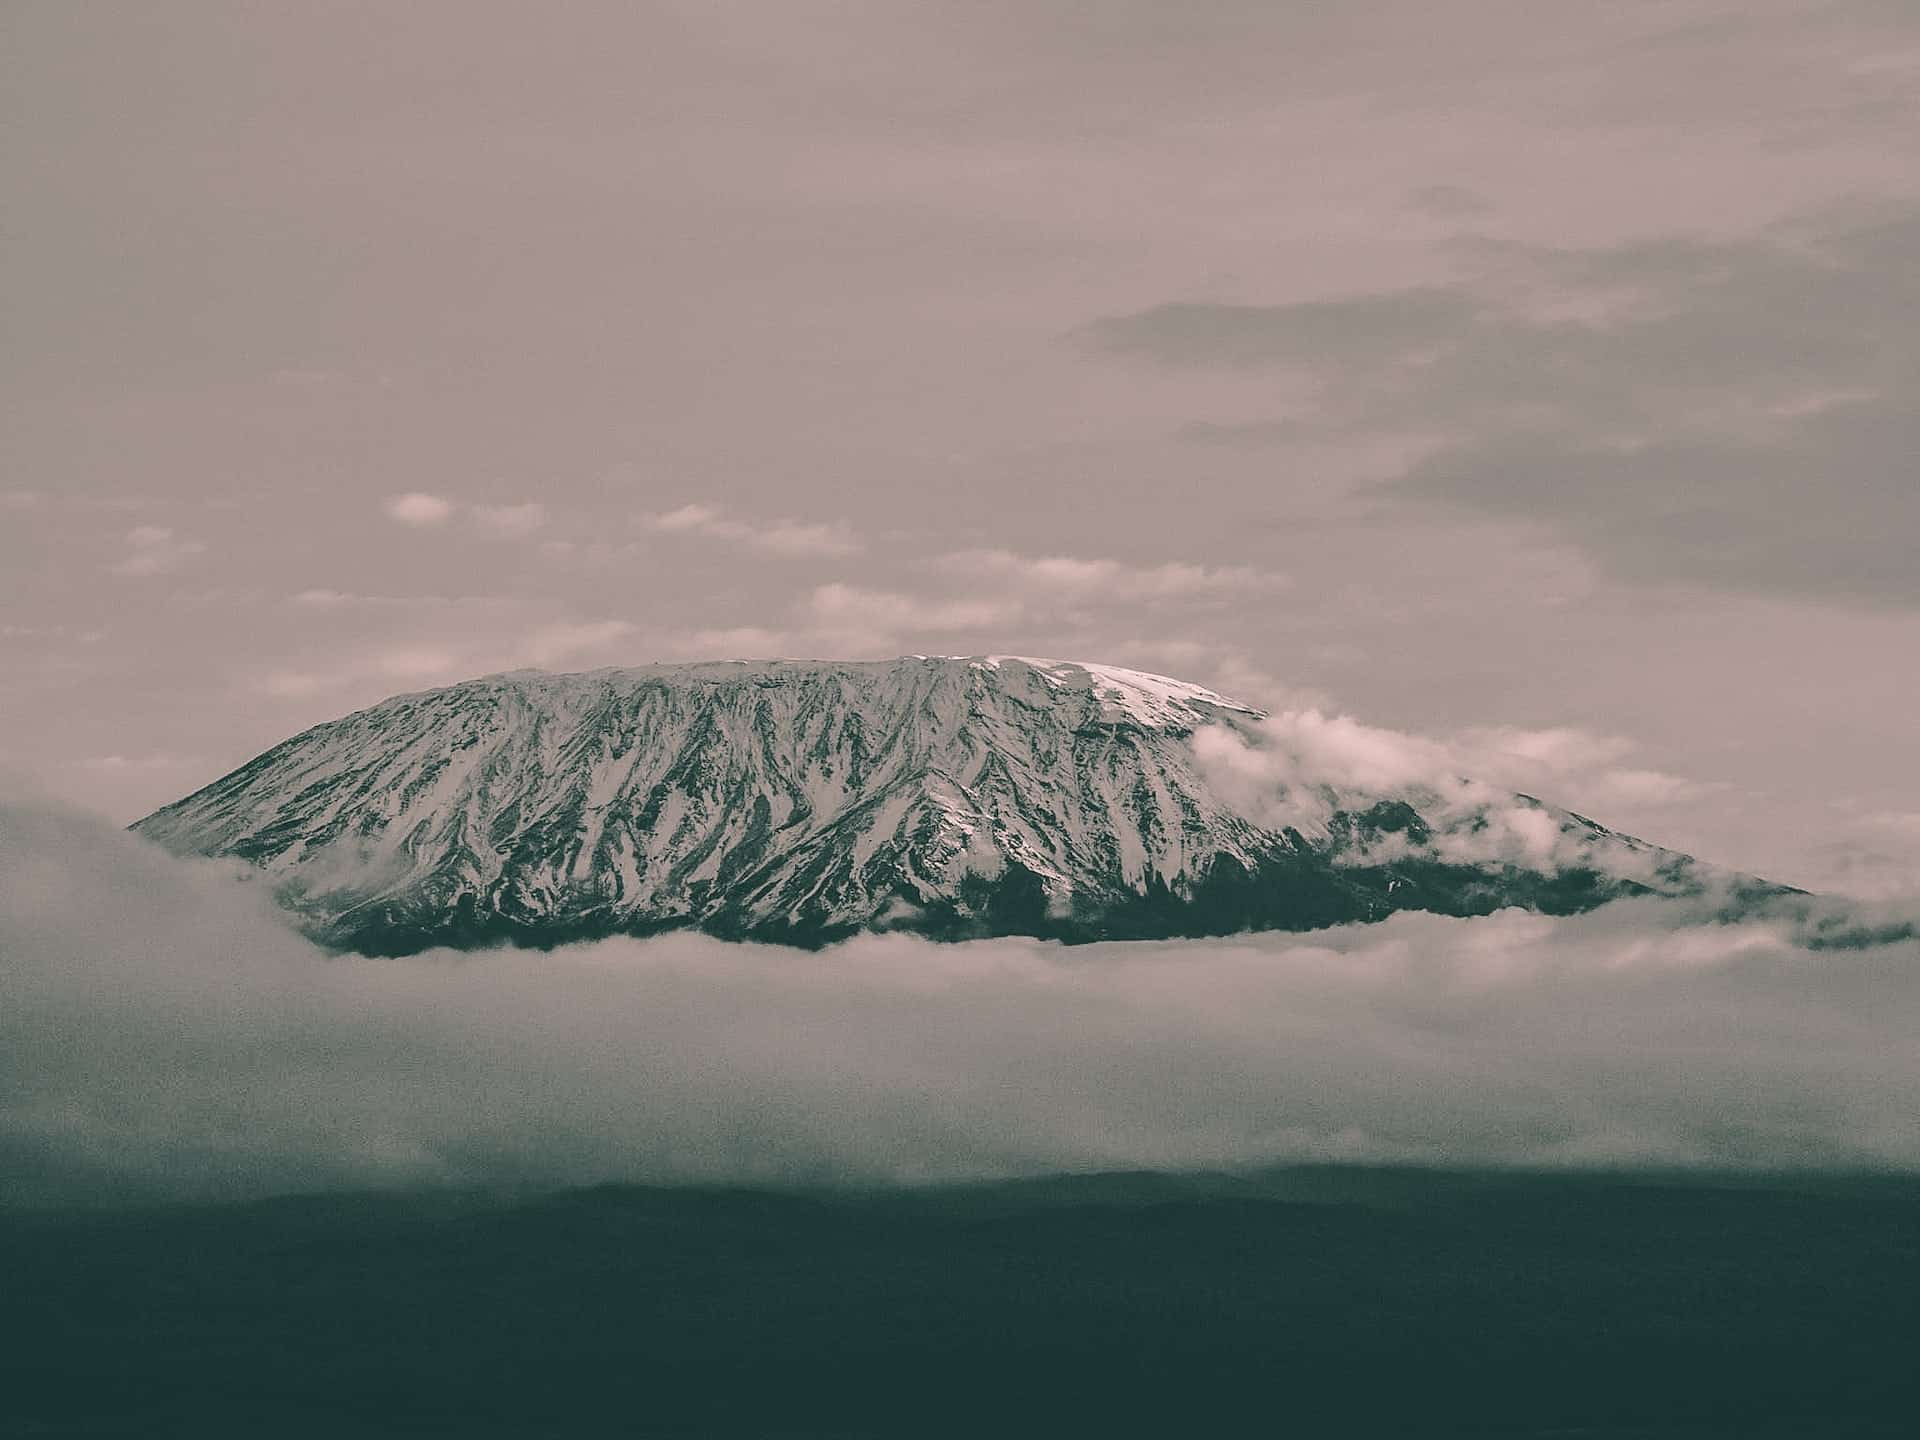
Hiking Kilimanjaro is something atop the list of many travelers’ bucket lists. Each year, the iconic mountain attracts thousands who spend days attempting to reach her snowy summit.
Since I’ve never hiked the mountain, I’ve invited my community manager, Chris, to share his tips and advice to help you save money and boost your chances of reaching “the Roof of Africa.”
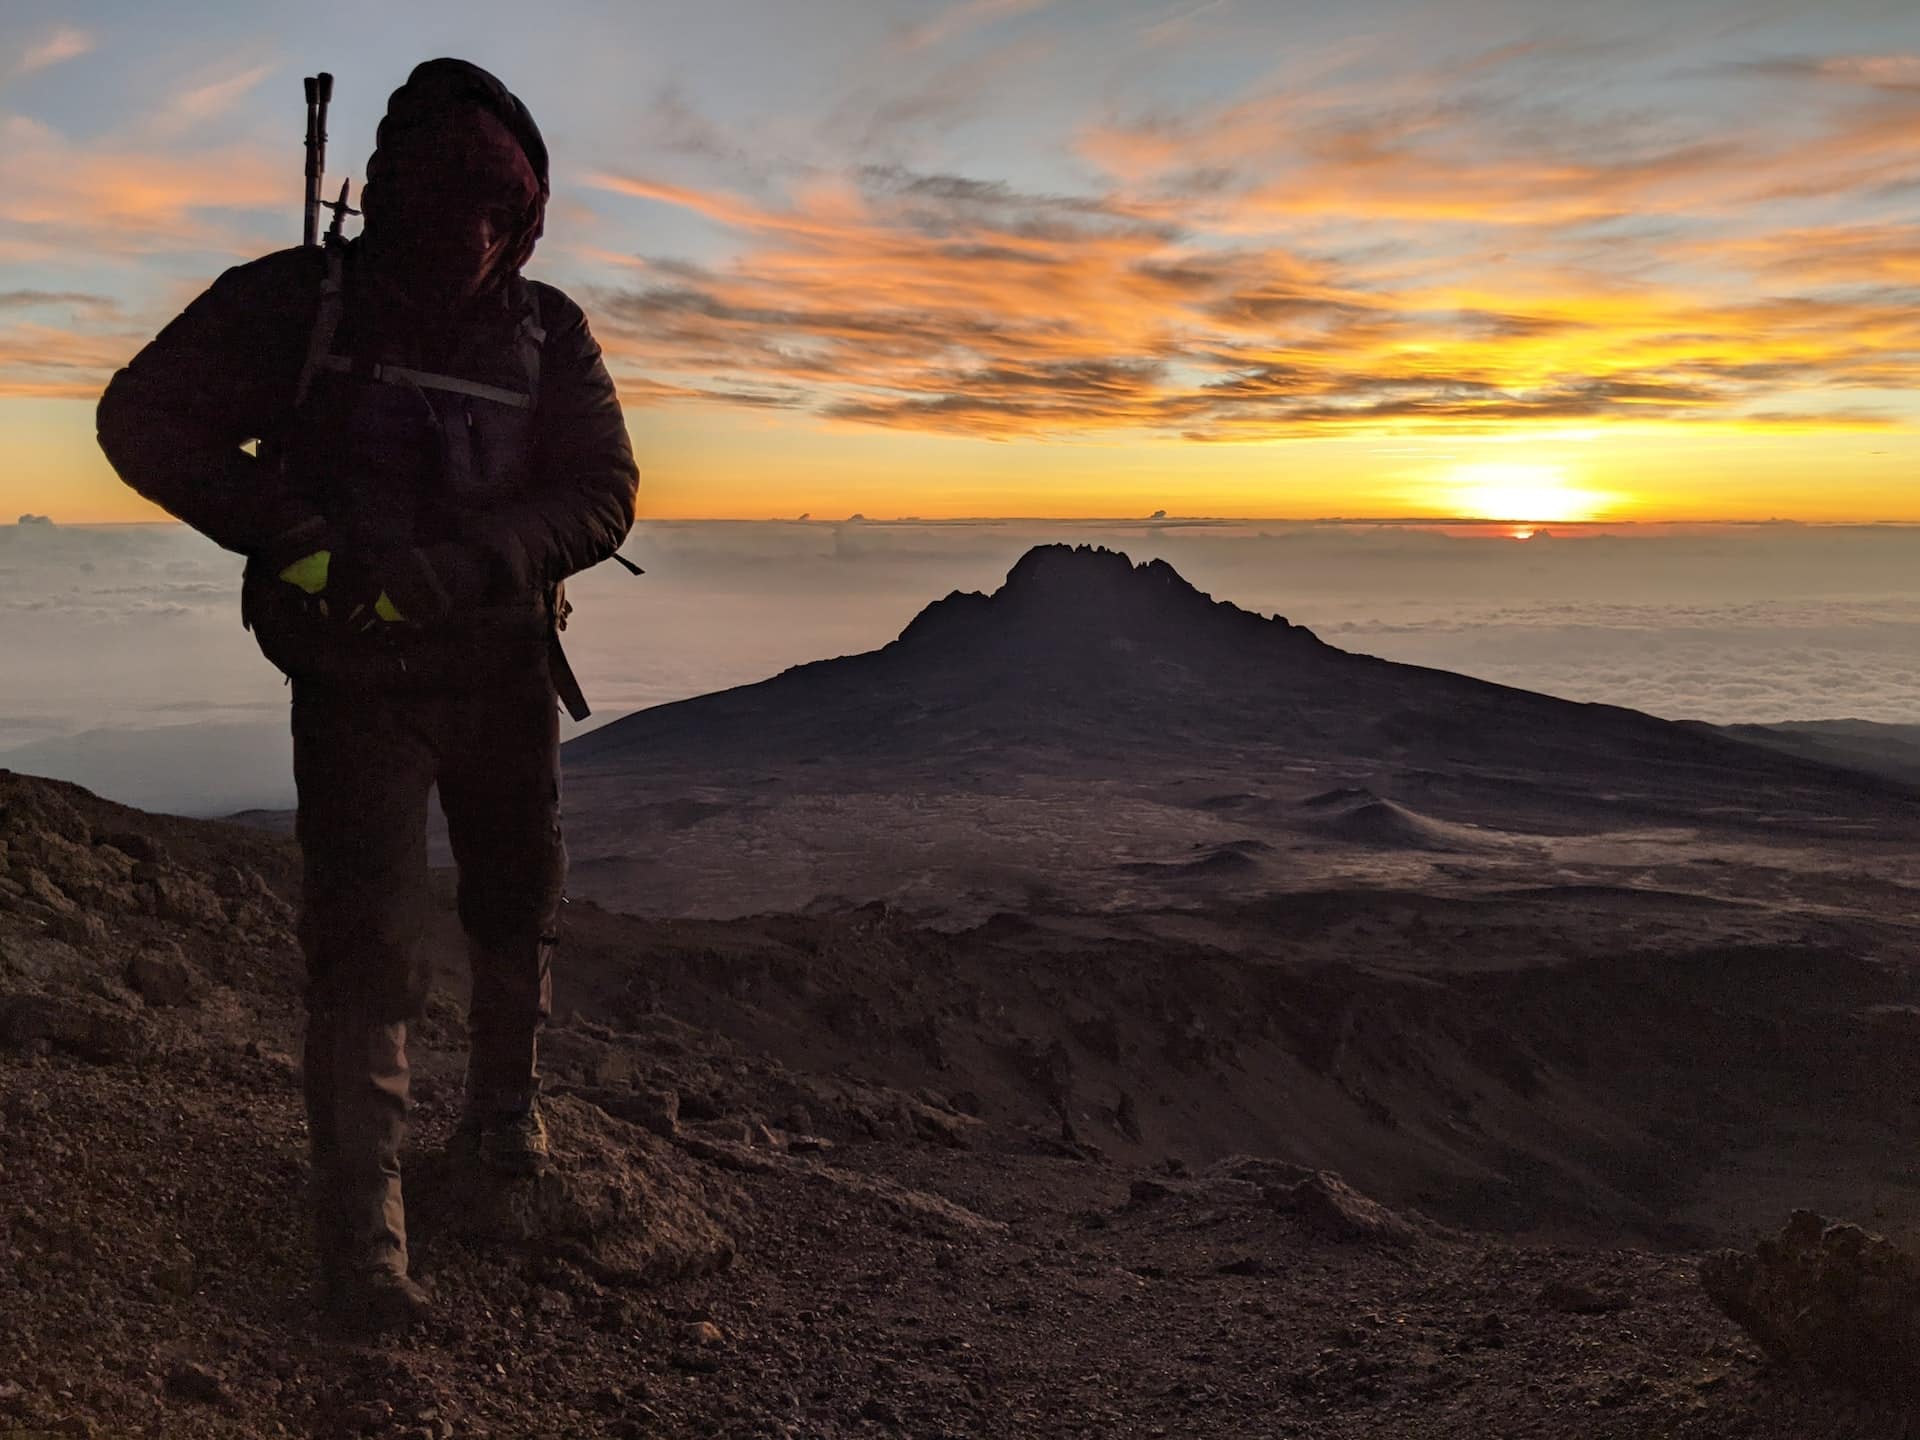
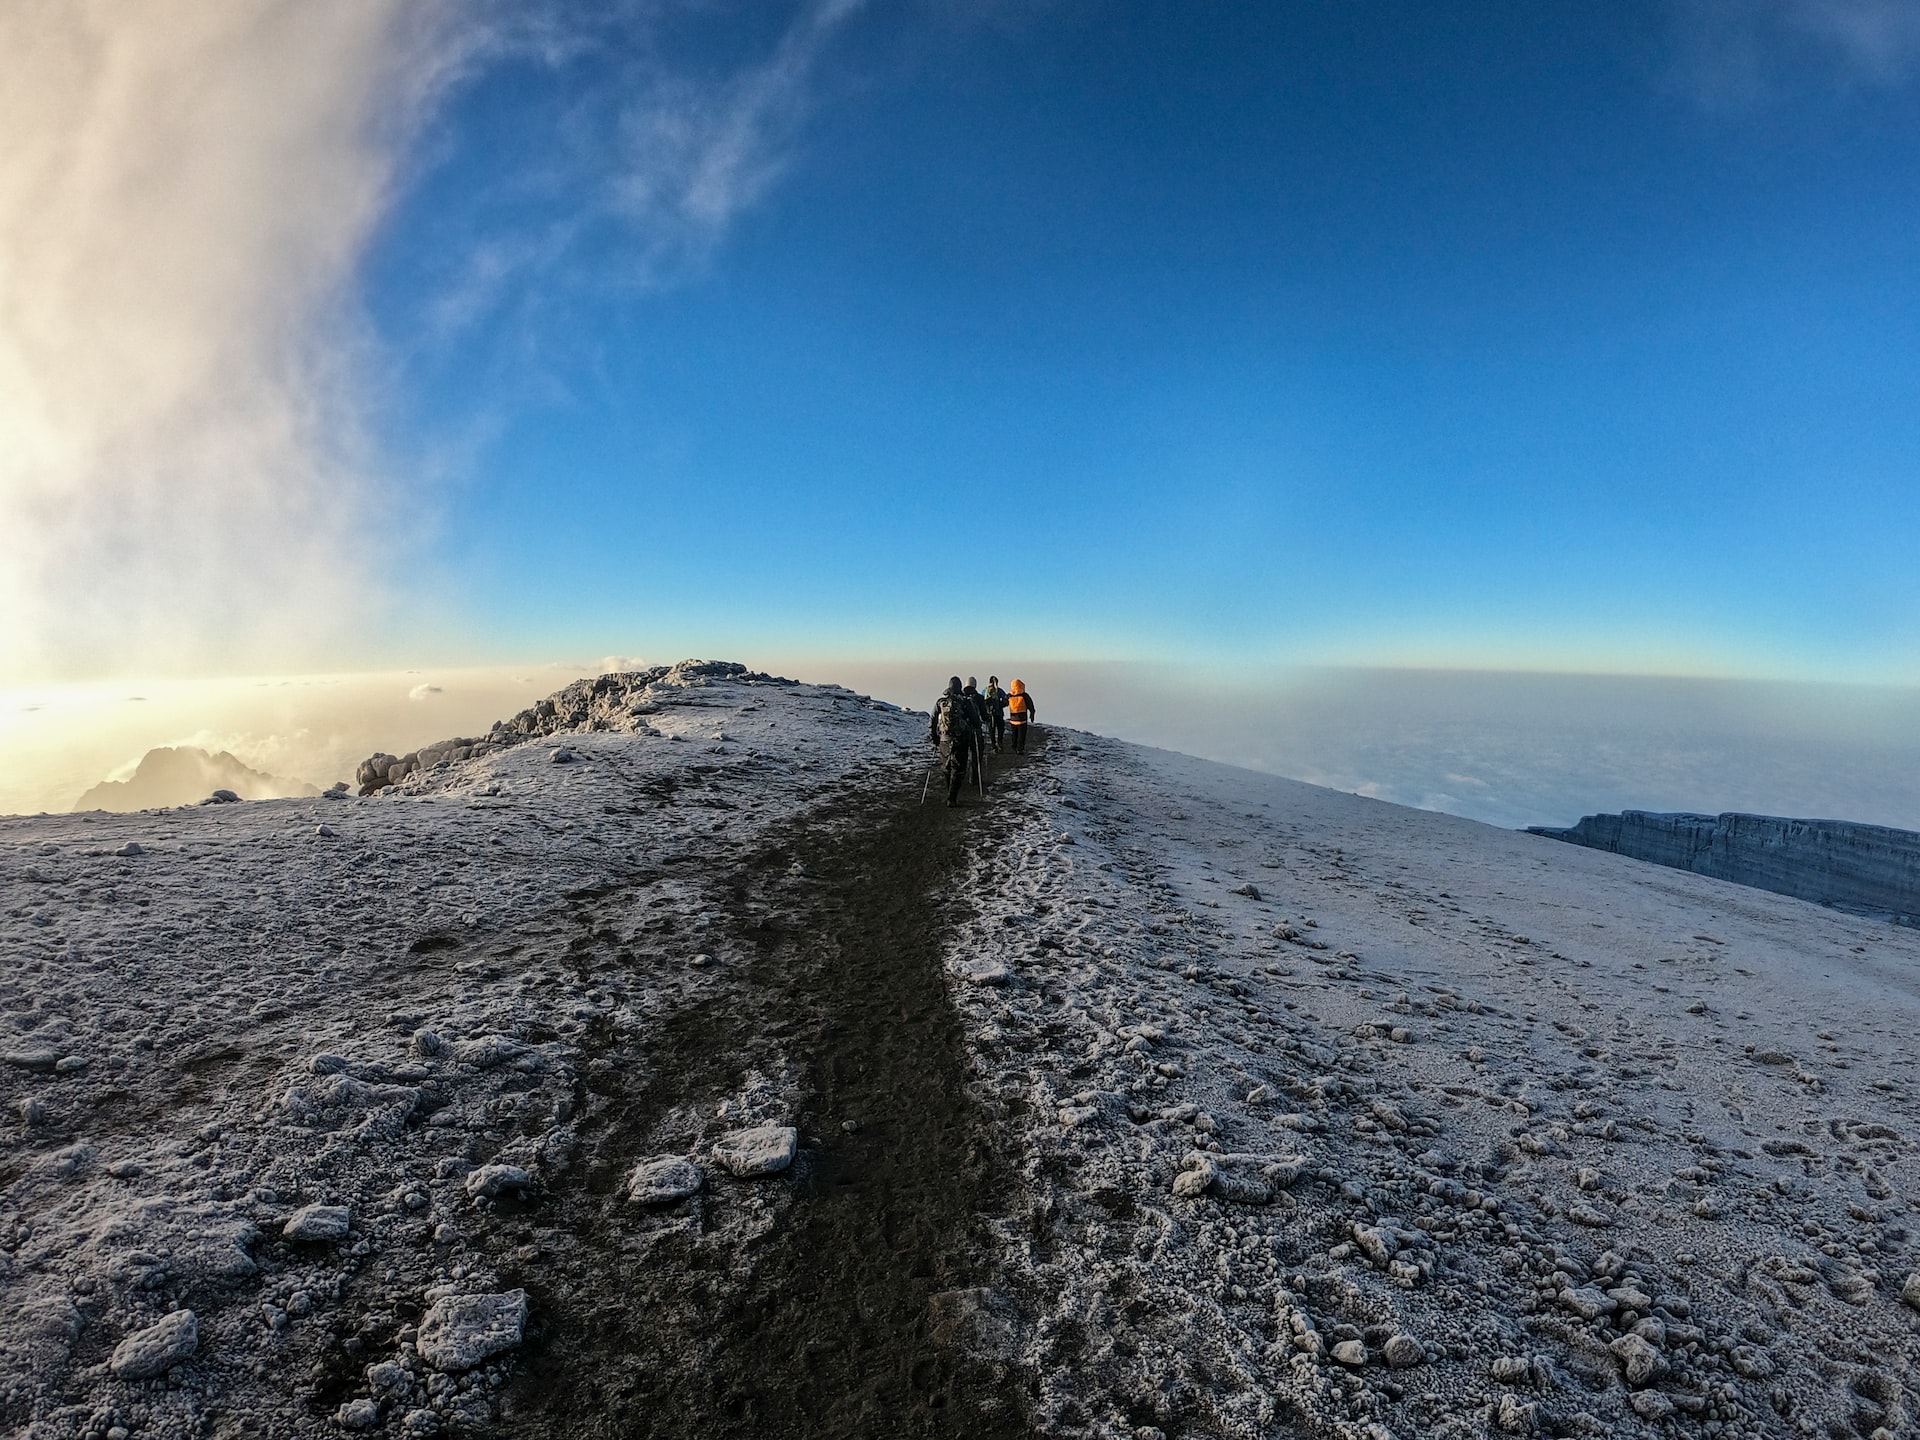
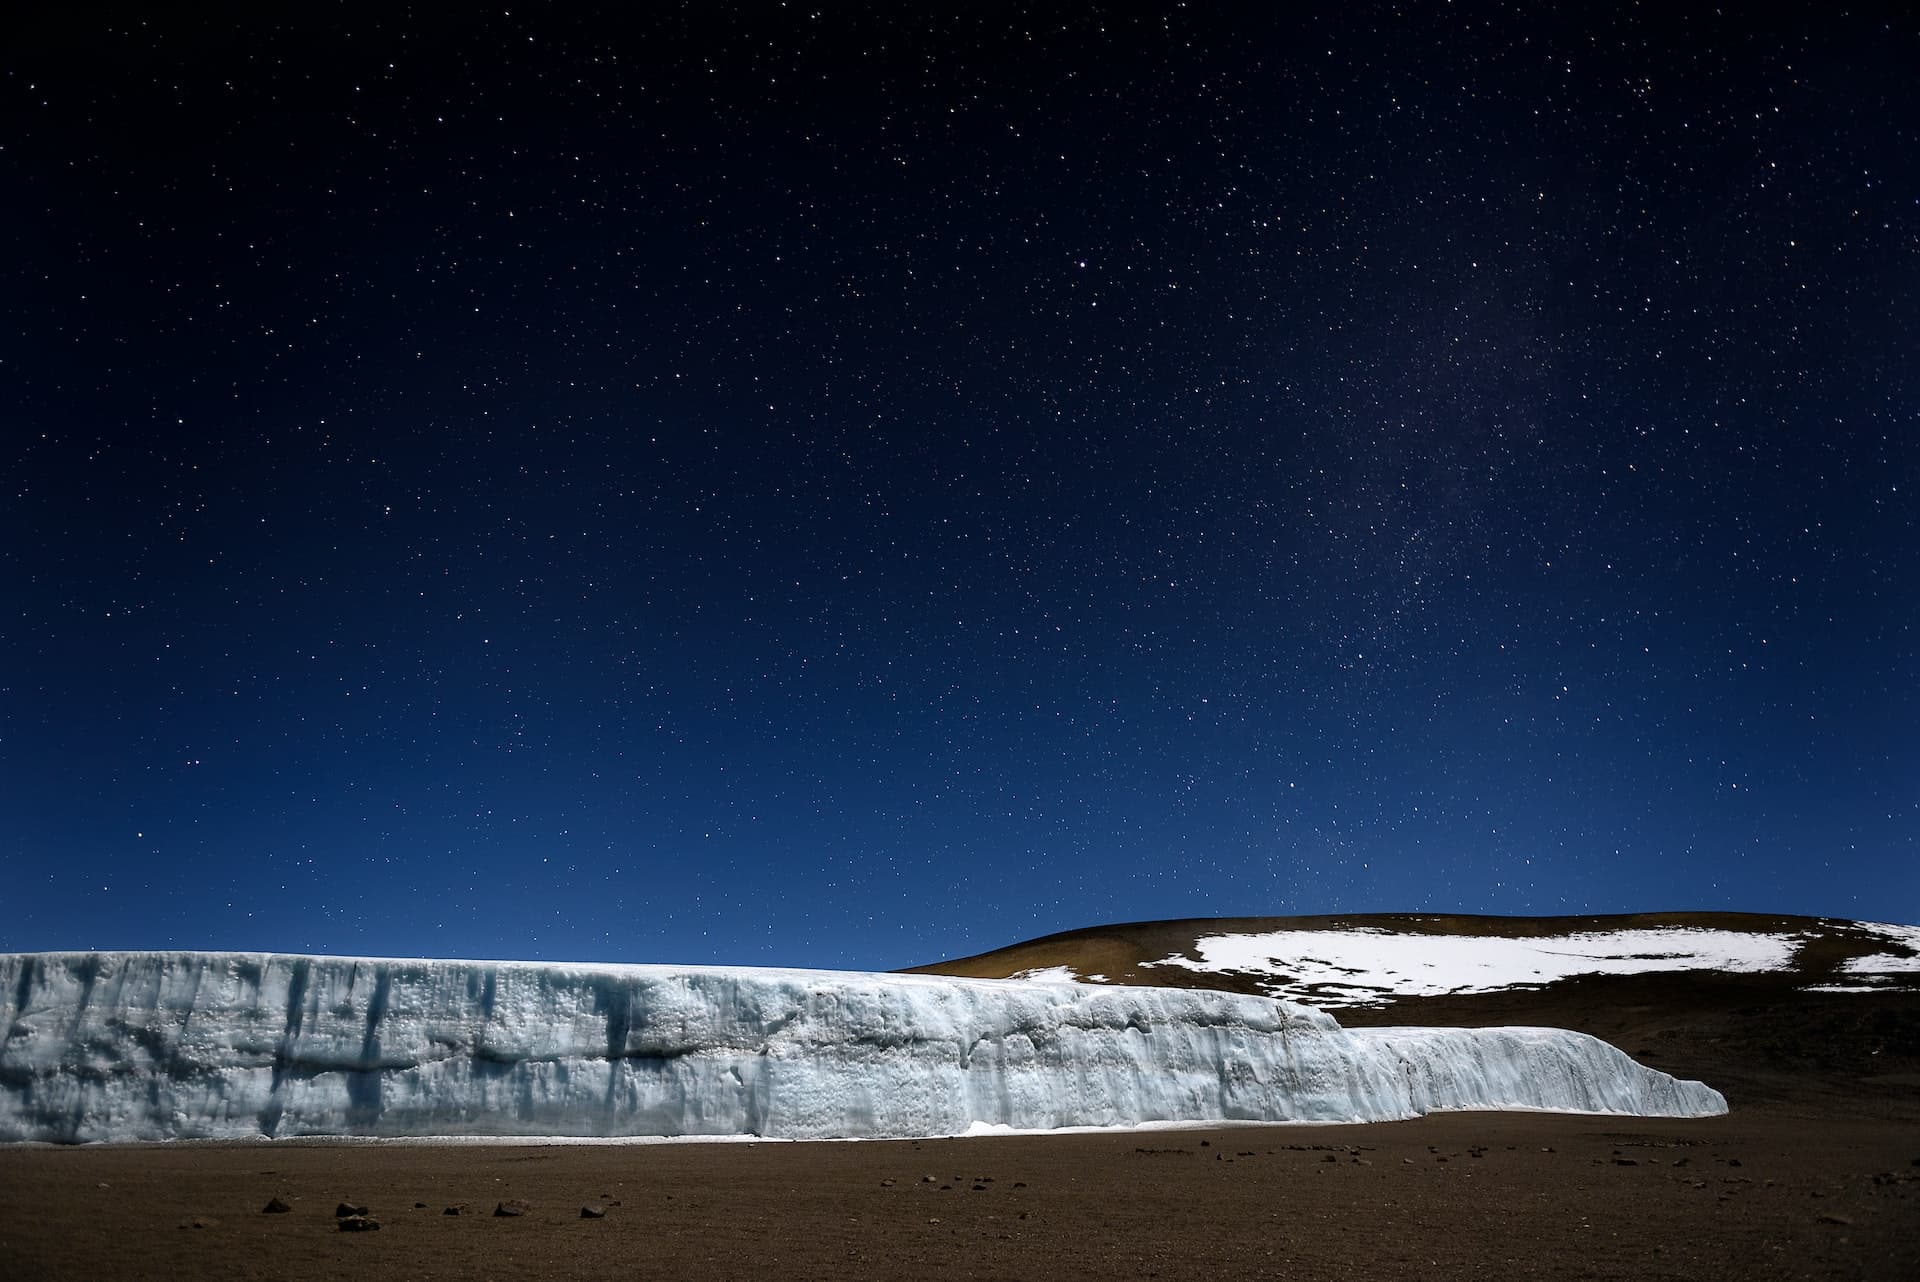
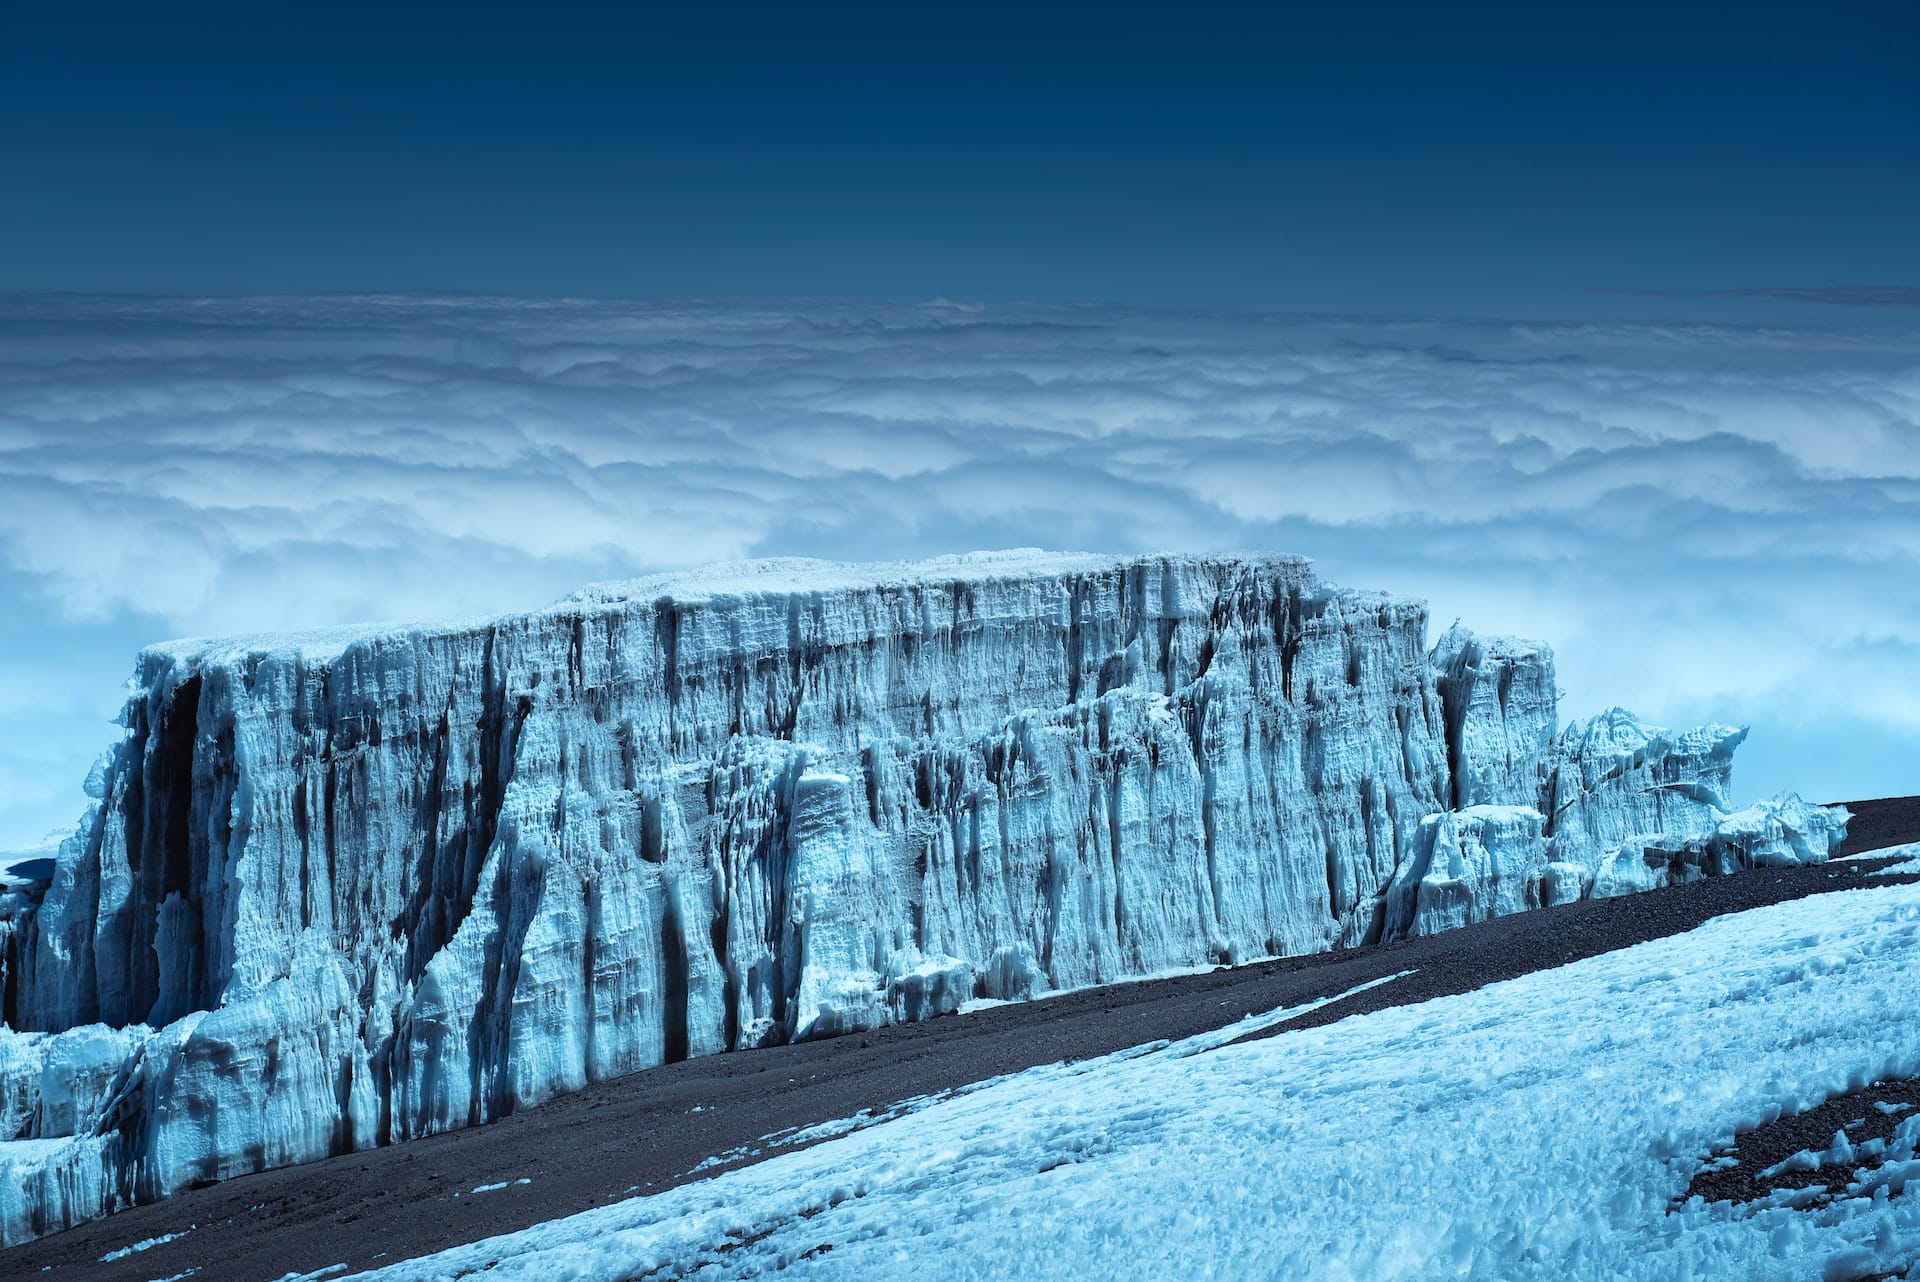
Standing on top of Kilimanjaro at sunrise was one of the most amazing feelings I’ve ever had. After a week of struggle including hiking over 17 hours in a single day I had made it to the frigid summit. For a few moments, I was the highest person on the entire continent. That was a truly magical feeling.
Kilimanjaro holds a special place in the travel world. It’s one of those activities like Everest base camp, Machu Picchu, or the Camino that attracts a certain kind of traveler. The kind who wants a challenge, who wants to push themselves, to test themselves.
While hiking Kilimanjaro has become more tourist-friendly over the years, it’s still a serious challenge. People still get hurt and die on the mountain every single year. Only 45–65% of people who start the hike make it to the top.
However, with a little planning and preparation, you can greatly increase your chances of reaching “the Roof of Africa.” Here’s everything you need to know to make the most of your trip:
The Routes
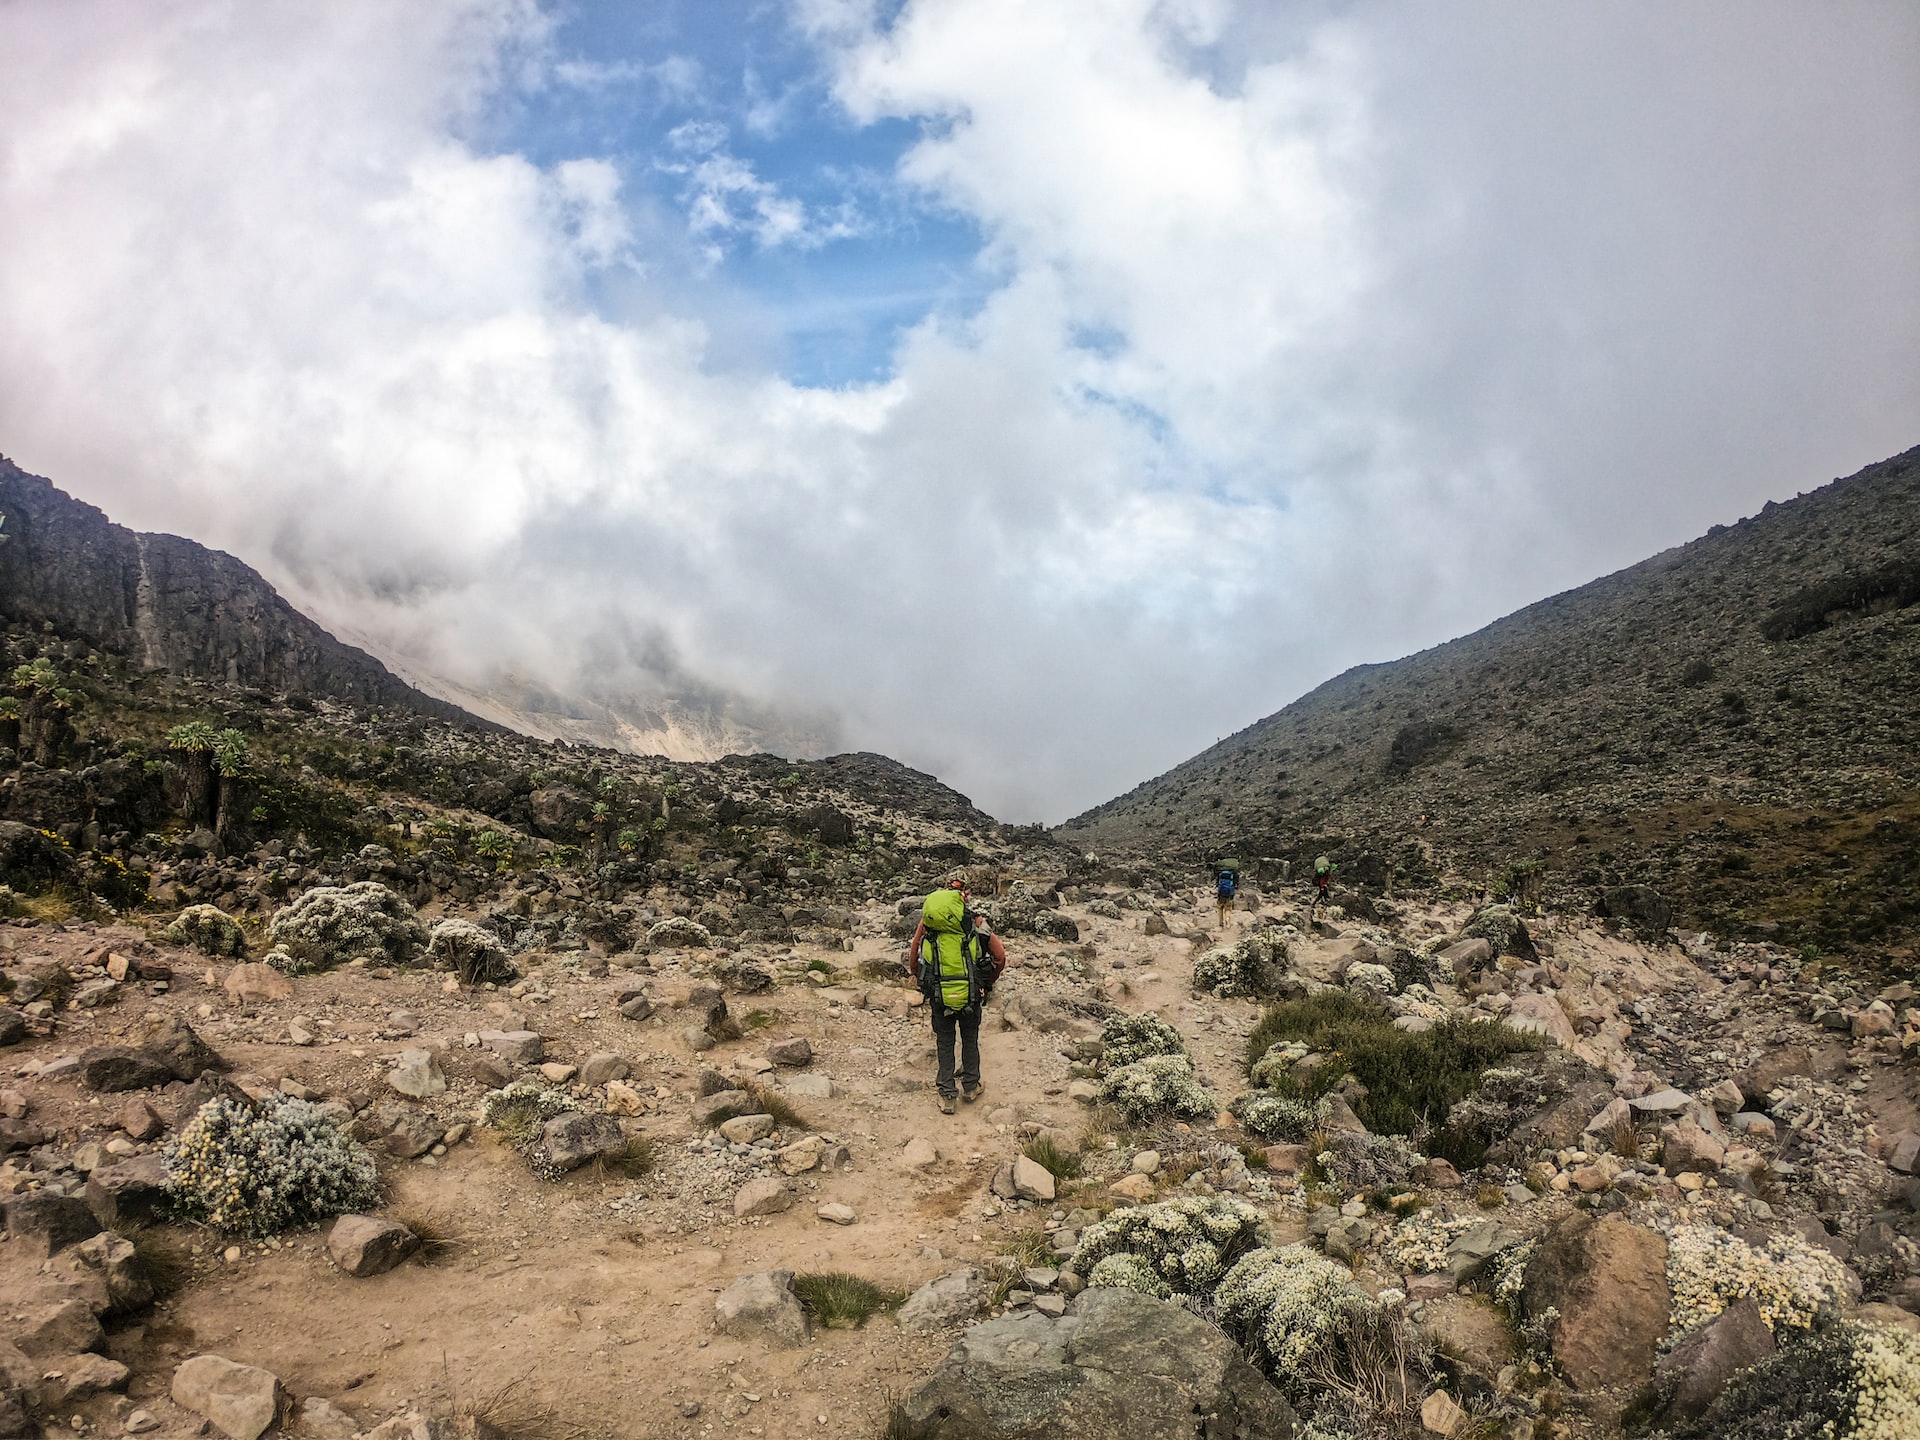
There are six routes on Kilimanjaro, each one a different length, with varying degrees of difficulty and differing success rates. The route you choose will depend on your budget, how long you have for the trip, and the company you book your expedition with.
Here’s an overview of the main routes:
Marangu: This is “the Coca-Cola route,” named after the fact that there are huts along the way where you can sleep and buy things like a cold Coke. It actually has a low success rate, however, as people underestimate the challenge and opt to rush to the top in five days instead of taking more time to acclimatize.
Machame: This is the most popular route. When done in seven days, it has a success rate of over 60%, hence its popularity. It’s called “the whiskey route,” hinting at the fact that it’s a more serious challenge than the Coca-Cola route.
Rongai: This is the easiest route on Kilimanjaro. It’s a bit less scenic and more expensive (there aren’t as many budget operators here), but it’s the only route that approaches from the north. It’s also much less busy.
Shira: This route jumps into some high-altitude gains early on before joining the Machame route. It’s challenging and more expensive, since you start in the west before linking up with the main route.
Lemosho: This is the most beautiful route up the mountain, which is why I chose it. It offers lots of variety and plenty of challenge. It’s one of the more expensive routes, however.
Umbwe: This route is really only for experienced climbers looking for an extreme challenge. It’s a lot of scrambling and climbing as opposed to regular hiking.
Regardless of what route you take, I would suggest nothing less than seven days. Don’t rush this trip. Although it will cost more money, the slower you go, the better your body adapts to the altitude, which is the #1 thing you can do to drastically increase your chances of success.
Costs
As with all travel, there is a wide range of price points available. There are luxury companies that will haul a full-size bed up the mountain so you don’t have to sleep on the ground, and there are super cheap companies that cut corners and likely don’t pay their porters fairly in order to keep costs low.
I suggest going for a more middle-of-the-road company for two reasons:
First, they will have more qualified guides, so you can learn more during your hike. These companies also usually pay their porters fairly, so you can be confident your team is taken care of.
Second, you’ll know that the company isn’t cutting corners. There is a lot of competition for Kilimanjaro treks, so you know if one company is just too cheap to be true that they are likely skimping on something. Since this is a once-in-a-lifetime adventure, don’t be cheap.
Prices range from $1,000 to over $5,000 USD per person. I wouldn’t book with any company charging less than $2,000 USD (I paid around $2,200 for my trip, before tipping see more on that below), as anything under that is going to be bare-bones.
Remember, people get seriously injured on this mountain every year, and around 10 are killed. Don’t cut corners! Pay for a reputable company with good reviews. Not only will you enjoy your trip more but you’ll feel more comfortable and be safer.
Finding a Tour Company
Since climbing without porters is prohibited, you’re going to need to hire a company to supply you with everything you need: gear, guides, porters, paperwork, and everything in between.
But there are tons of companies available. How do you decide which to go with?
Here are a few tips:
1. Read reviews – Once you’ve narrowed down your choices based on your budget, look for a company that has positive reviews. While online reviews should always be taken with a grain of salt, they will help you establish a first impression. Keep an eye out for details about the gear and food provided.
2. Ask about their client/porter ratio – How many other travelers will you be going with? And how many porters/guides/assistant guides will be included? You don’t want to be stuck in a huge group where you don’t get personalized attention if you have questions or concerns.
3. What is their success rate? – What is the company’s success rate for the route you’re looking at? While they can’t control the weather, they can do everything in their power to get their clients to the top.
4. Are they responsible companies? – The Kilimanjaro Porters Assistance Project has a list of tour operators that meet their standards for responsible and ethical travel. Book with a company on this list to ensure that your porters are fairly treated. I didn’t know about this list before I went, and it’s one of my biggest regrets about the trip.
5. Pick a company with included accommodation – Most companies include a free hotel stay for the night before your trek and for the night after (as well as pick-up and drop-off). Make sure you choose a company that offers this, so you can get a decent night’s sleep before your hike and enjoy a real bed after your strenuous time on the mountain.
Intrepid Travel and G Adventures are two companies I would recommend. They meet KPAP’s guidelines and offer a variety of treks with qualified local guides. Start your search with them.
A Note on Tipping Your Guides
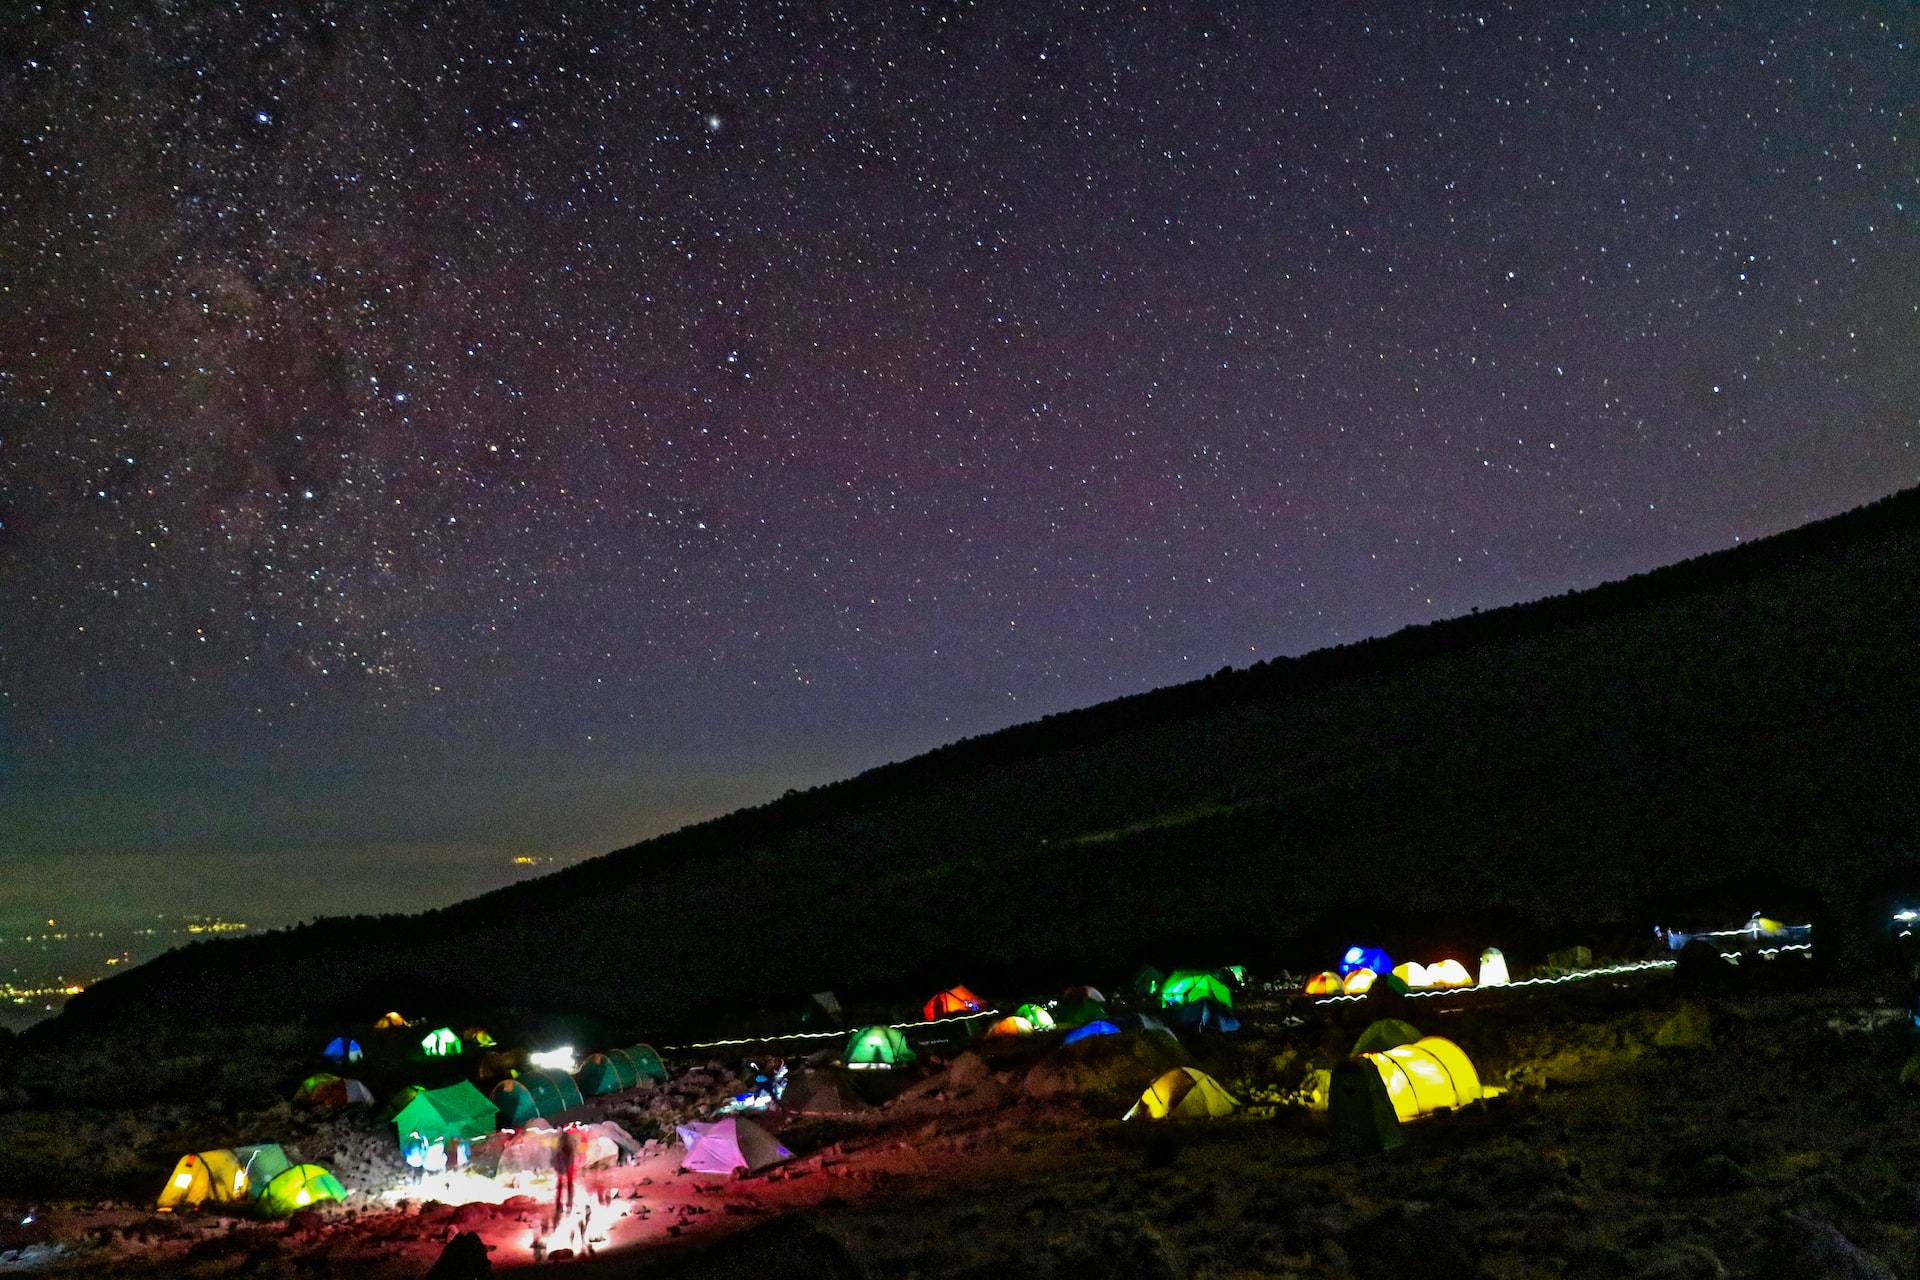
In addition to paying the company you book with, you will also need to tip your team of porters. My sister and I had a team of 12 with us just for the two of us! Porters to carry our gear, a cook, someone to carry (and clean) the toilet, a waiter/assistant cook, our main guide, and then our assistant guide. It takes a lot to get to the summit; you aren’t doing this alone after all!
At the end of your trip, usually while you’re still on the mountain, you’ll need to tip your team. This has to be done in the local currency which means you’ll need to get all that cash before you hike and carry it with you on the trek.
You’ll be tipping a specific amount per day to each porter, a bit more to the cook, and then a bit more to the guides. Breakdowns usually look something like this:
- Main guide – $20 USD per day
- Assistant guide – $15 USD per day
- Cook – $12 USD per day
- Toilet engineer – $5-10 USD per day
- Waiter – $5-10 USD per day
- Porters – $5-10 USD per day (each)
What I read online beforehand stated that a 15% tip is customary. So, if you paid $2,500 USD for your trip than you’d tip at least $330 USD to the team. When I asked my guide about this, he said a normal tip was closer to $1,000 USD…which is almost a 50% tip.
As you can imagine, things can get awkward if someone is expecting $1,000 USD and you give them an envelope with just $400 USD and most teams will open the envelope while you’re standing right there in front of them. It can get a little uncomfortable.
Obviously, your porters deserve to be paid fairly. They are doing incredibly challenging work. If you can afford a generous tip, they 100% deserve it. For minimum tipping guidelines, I encourage you to follow the Kilimanjaro Porters Assistance Project’s guidelines.
13 Tips for Hiking Kilimanjaro
1. Make sure your insurance will cover you
Most travel insurance policies have restrictions on how high you can hike. That means that if you get injured over a certain altitude, your policy won’t apply.
World Nomads, for example, covers up to 19,685 feet on its Standard Plan and their Explorer Plan (I booked my coverage through them for that reason). (Kilimanjaro is 5,895 m (19,340 ft) high.)
No matter who you book with, make sure you will be covered at all altitudes.
2. Train in advance
Every route on Kilimanjaro will offer its own challenges. In order to meet and overcome those challenges, you need to make sure you’re physically fit. While most days on the trail are relatively easy, you do a lot of elevation gains, and the last day can involve upwards of 17 hours of hiking in a 24-hour period. I’m not saying you need to be jacked, but you do want to make sure you can handle a week of walking uphill.
3. Prepare for a mental battle
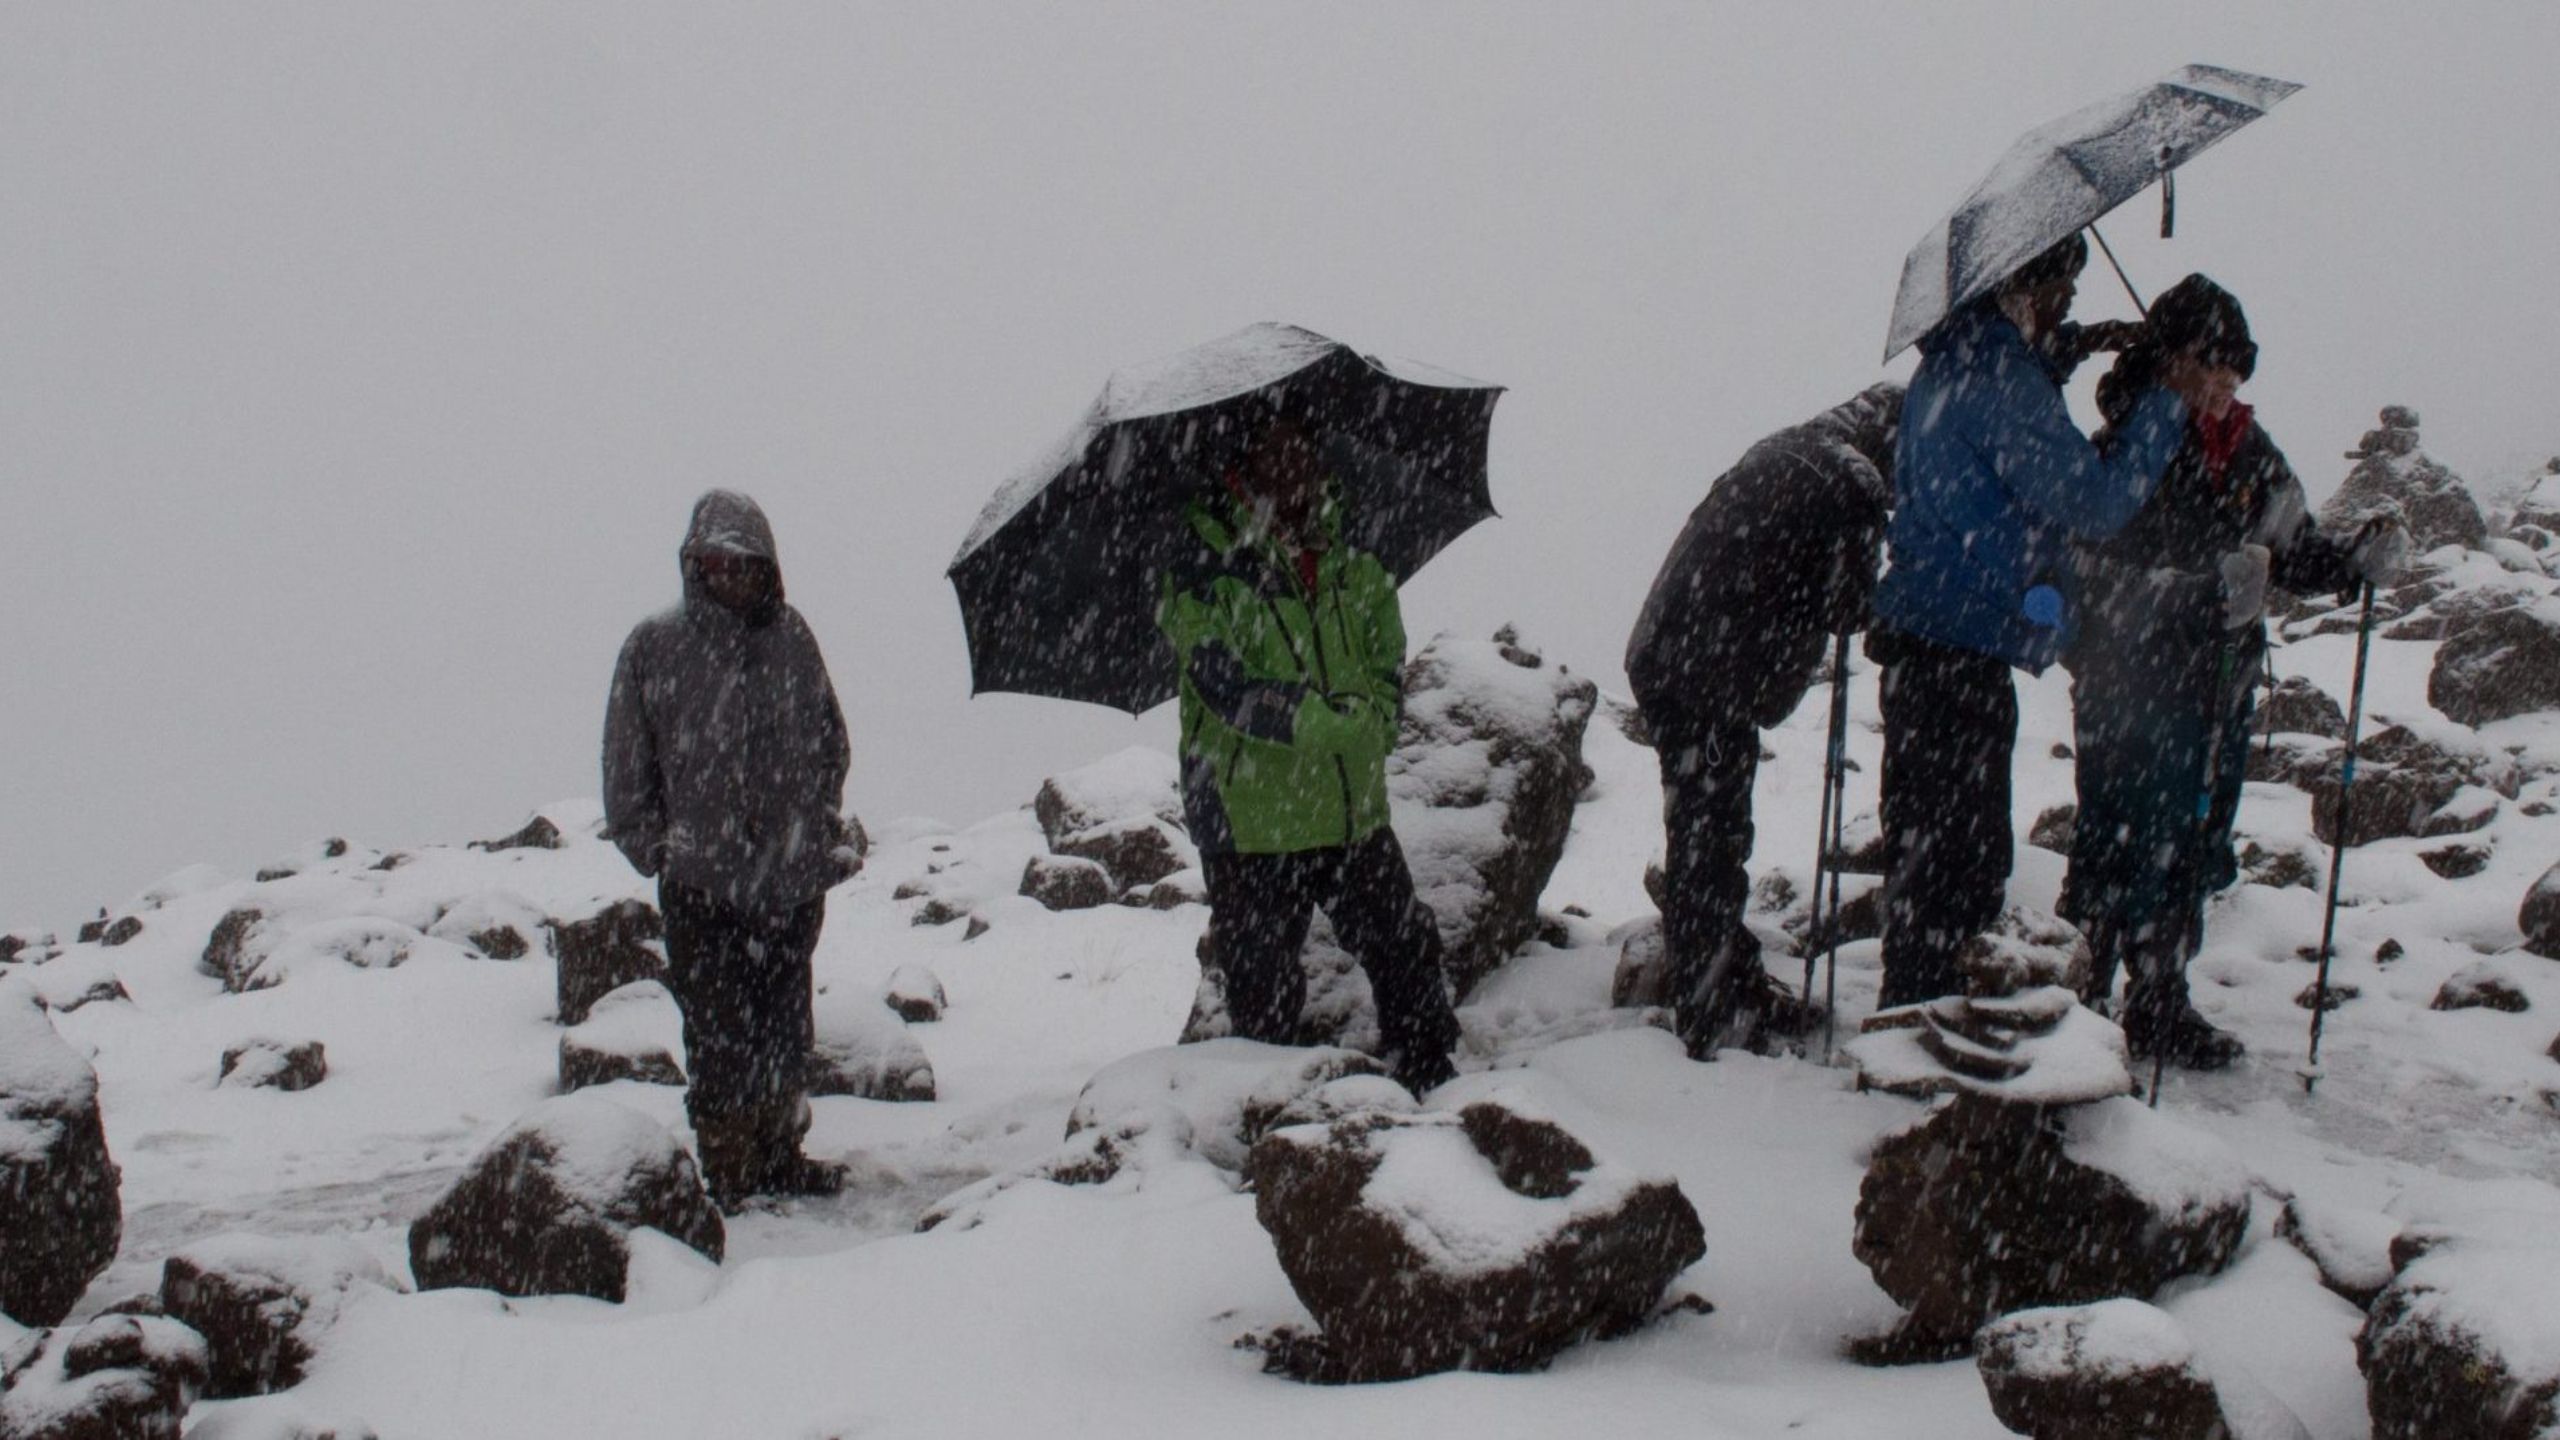
Kilimanjaro is just as much of a mental battle as it is physical one. While the final day is incredibly physically challenging, it’s also a mental marathon. Hiking for up to 17 hours, in freezing temperatures, in the pitch black, while also battling the altitude and the weather? That’s a recipe for disaster unless you can keep your mental fortitude.
4. Bring altitude medication
The altitude really does impact everyone differently. I saw people less than an hour from the summit who turned back because of it. I highly recommend you bring and take altitude medication just in case. I found it super helpful. Your doctor can give you an overview of your options and their side effects, but I took Diamox and didn’t really suffer any altitude sickness at all. However, the side effect was that I had to pee constantly (which can be inconvenient for women).
5. Bring a water filter
Your porter team will make sure you have water during your hike. It’s collected from different areas on the mountain, boiled, and then served to you. Since the water is boiled, it’s perfectly safe. However, it never hurts to be extra safe. Bring a filter like LifeStraw or Steripen to ensure that your water is free from bacteria. Better safe than sorry!
6. Book a company that includes gear
If you’re an avid hiker, chances are you have all the gear you need. However, bringing it with you to Tanzania is likely more hassle than it’s worth especially when you consider that you need cold-weather gear for summit night, which takes up a lot of space. For that reason, make sure you book a company that has all the gear you need: hiking poles, winter hiking gear for the summit, sleeping bags, gaiters the list goes on. Most companies include gear, but it’s always a good idea to double-check.
7. Bring snacks!
This one is super important for your mental well-being. While the cooks on the mountain are incredibly gifted, I encourage you to bring snacks, so you have a pick-me-up to look forward to. I brought several bags of cookies and candies, so I had a sugar boost during the day for, as well as something for camp. Just make sure you save a bunch for summit night because that’s when you’ll need it most.
8. Pay extra for a toilet
Most companies will charge extra for a portable toilet that will accompany you (it’s just a small travel toilet in a narrow tent so you have some privacy). It’s incredibly basic but absolutely worth every penny. The few toilets in the various camps are disgusting, so having your own private toilet tent is a worthwhile expense.
9. Stay hydrated
I drank 4-5 liters of water per day while hiking. I was literally drinking all day every day. You’ll need at least 3L on you during the day, and the rest you can drink in camp. That means you’ll need a 2-3L water bladder and then maybe an extra 1L bottle. Always make sure they are full before you set off for the day and make sure they are empty by the time you get to camp. Staying hydrated is one of the most important things you can do to increase your chances of making it to the top.
10. Break in your footwear
If you’re buying new hiking boots for this trip, make sure you break them in. You’ll want at least one month of regular wear in the boots to make sure you don’t get blisters. Over the years, I’ve seen some nasty wounds among travelers who didn’t break in their boots for one hike or another. Don’t make the same mistake!
11. Go slow and then go even slower
I’m a fast walker and a fast hiker, so this was tricky for me, but it’s super important that you take it slowly so you can acclimatize. Your guides will constantly remind you of this listen to them! On summit night, my speed was half a foot per stride (compared to my usual stride of around three feet). The slower you go, the more likely it is that you will succeed.
12. Double-check your dietary concerns
If you have an allergy or special diet, make sure the company knows. And then remind them multiple times. I informed our company three times that my sister is vegetarian and I am vegan and we still got meat on day one. Fortunately, we got it all sorted out and had an amazing cook for our trip, but that could have gone sideways very easily. Kili is the last place you want to be lacking calories (or running to the toilet!).
13. Bring extra batteries for your camera
After 7+ days of hiking, chances are your phone and camera will be dead. Bring an external charger and/or extra batteries for your camera so that you can be sure to have juice for summit day. You don’t want to get to the top and not be able to snap some photos!
Hiking Kilimanjaro: Frequently Asked Questions
How long is the hike?
Hikes range from 5 to 9 days usually, depending on the route. The longer you take, the easier your hike will be, since you’ll be able to go slow and adapt to the altitude.
Can you get altitude sickness on Kilimanjaro?
The altitude can cause headaches and fatigue, so take it slow and bring altitude medication just to be safe. I took altitude medication and never had any issues. However, I saw numerous people turn back even someone who was just an hour from the top because of the altitude. So take it slow, listen to your guide, and bring medication just in case.
How hard is the hike?
It’s challenging. Most days aren’t particularly hard, but there are some days that were exhausting. You’ll want to be physically fit.
Personally, I only found summit day challenging. It involved hiking all day, sleeping for a few hours, and then starting for the summit around midnight. You hike in the dark, and it’s incredibly cold (I had five layers on). After 20 minutes on the peak, you head back down, which means you hike upwards of 15-17 hours in a 24-hour period. It’s exhausting but worth it!
Do you need oxygen to hike Kilimanjaro?
Nope!
What is the best month to climb?
The best times to climb Kilimanjaro are from December to March and from June and October. That’s when it is the driest.
How cold is it at the top?
At night, it can get as low as -20°C (-4°F) at the summit. It was frigid when I arrived at the top at sunrise (my water bottle and water bladder were frozen).
Why don’t people succeed in making it to the summit?
The main reasons people don’t make it are the weather, altitude sickness, and lack of physical fitness. Make sure you train in advance and bring altitude meds to boost your odds of reaching the summit!
Hiking Kilimanjaro is an amazing, challenging, and rewarding adventure. While it isn’t cheap and does takes some planning (and training), reaching the summit makes it all worthwhile.
By taking the above tips and advice to heart, you’ll not only save money and get more out of your trip, you’ll drastically increase your odds of succeeding on your trek, giving you the opportunity to stand on the roof of Africa and bask in the continents natural beauty.