How to Dress on Mount Kilimanjaro
Climb Kilimanjaro It is said that the trek from the gate to the peak of Kilimanjaro is like walking from the equator to Antarctica. The temperatures you may encounter on Mount Kilimanjaro can be over 100 degrees to well below zero. Therefore, it is important for all climbers to understand how to best dress to cope with the mountain weather.
By following Africa Rooftop Expeditions®’s comprehensive gear list, you already have everything you need to stay comfortable and warm throughout your journey.
Let’s talk about how to use these items.
Layered Clothing Systems
When it comes to staying comfortable and dry, the key is to use layers.
Layering is a systematic, logical approach to wearing multiple layers of clothing. It is the best way to keep your body in the desired temperature range no matter what the environment is.
The advantages of layering are that it is versatile, thermally efficient and space efficient. By having layers, a climber can add or remove pieces of clothing to adapt to changing weather, activity level and body temperature. It is easy to adjust and lets you dial in with small incremental changes.
Scientifically, it is warmer to wear multiple thinner layers than an equal thickness single layer because the air between layers provides insulation. Furthermore, it takes up less space in your backpack or duffel to have the thinner layers and a thick one.
Climbers should follow the layering principle when suiting up for Kilimanjaro. The technical clothing you bring on the mountain can be categorized into the following types of layers: base layer, mid layer, and outer shell. Each performs specific functions and together it will protect you from the peak’s harshest weather.
Base Layer
A base layer is a moisture-wicking item that is worn against the skin. By moving sweat away from your body, the base layer should keep you dry and provide some insulation. They are available in different thicknesses, although light-weight is recommended for its versatility over medium-, heavy-, and expedition-weight clothing.
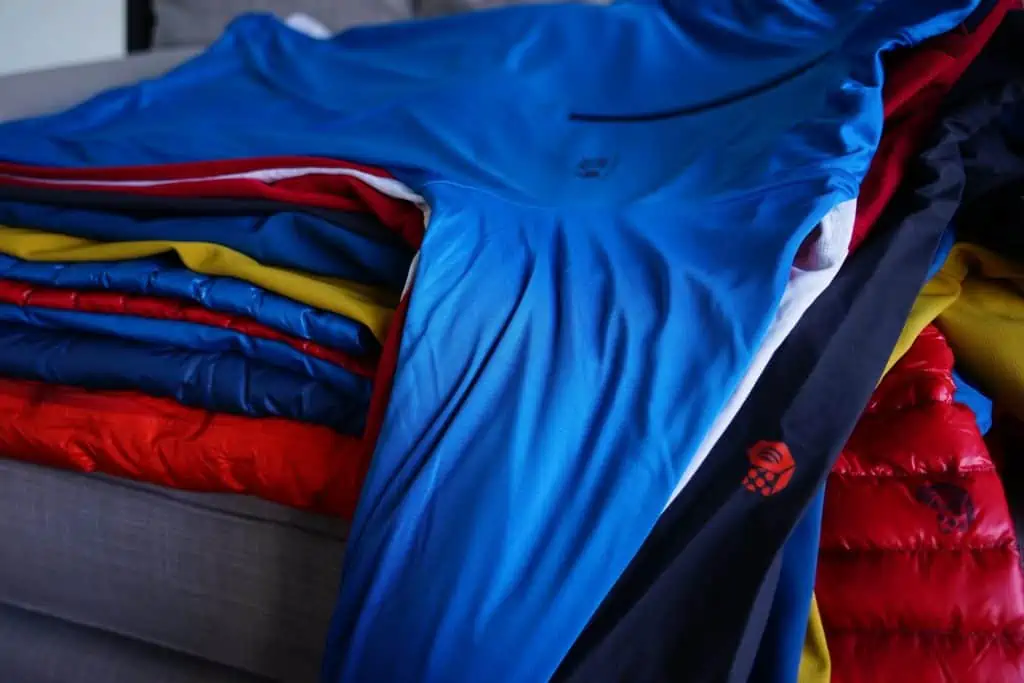
Base layers can be worn alone in warm weather, and can be doubled-up (worn on top of one another) during cold weather. Several types of fabric or blends of fabric are used to construct base layers, including silk, wool, and polypropylene, which are usually sold under registered trademarks by outdoor gear companies. All of these materials work well, so the ones you choose are based on personal preference.
Try them on and see if you like or don’t like the feeling of them against your skin, because you will spend the entire time on the mountain with baselayers on.
Cotton is not a good base layer material! It does not have any moisture-wicking properties, does not dry quickly, and will actually increase your heat loss when wet. Do not wear cotton shirts while you trek, and accordingly it’s best you avoid cotton tights and underwear as well.
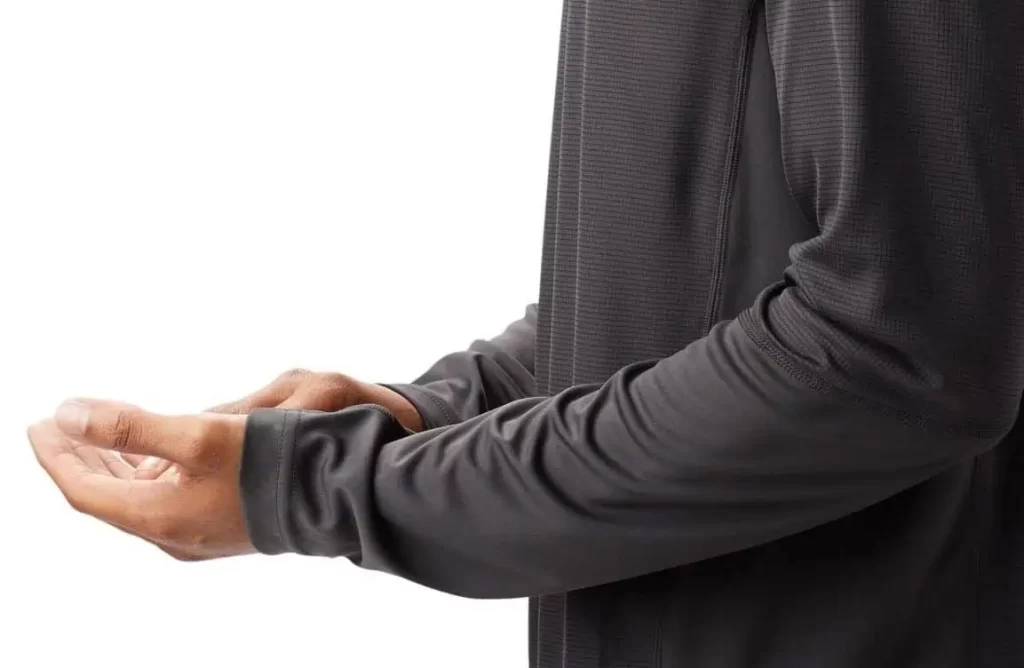
3 – Long Sleeve Shirt, moisture-wicking (hood recommended)
1 – Short Sleeve Shirt, moisture-wicking (optional)
1 – Long Underwear, moisture-wicking
4 – Underwear, moisture-wicking fabric
You may notice that there are less shirts and underwear than there are days on the mountain. That isn’t a mistake. You do not need nor should you bring a set of clothing for each day. That also goes for hiking pants and socks.
Mountaineers, serious backpackers and minimalist hikers bring one outfit and wear the same shirt, pants, underwear and even socks for an entire expedition. We don’t expect that of our clients! But try to refrain from the thought that you have to have a clean outfit every morning. It is excessive and unnecessary.
Mid Layer
The primary purpose of a mid layer is to provide warmth. Therefore, while searching for mid layers, you should look for those that have good insulating qualities. Insulation is best created by materials that trap tiny air pockets, or dead air, between you and the elements. Wool or synthetic fabrics can be used as a mid layer in cool weather. However, for cold conditions, use fleece, down or heavier synthetics.
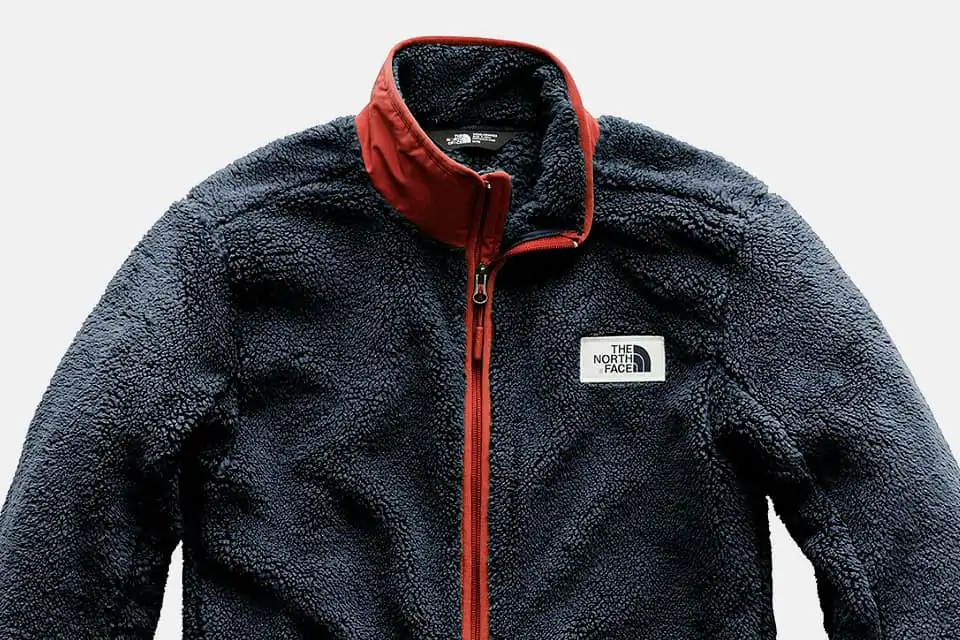
Fleece provides good insulation because it is relatively thin, fast-drying, comfortable, and light-weight, but lacks wind protection. Fleeces are available in different thicknesses. As a broad rule of thumb, the thicker, furrier ones tend to be warmer but less wind-resistant whilst the thinner, smoother looking ones (ie., soft-shells) aren’t as warm but offer some wind and water protection.
Down is the most efficient insulating material in the world. It has an unmatched warmth per ounce ratio, making it the top choice for staying warm in extreme temperatures. Down insulation is made from goose or duck plumage. These lofty, fluffy clusters are made of tiny, crisscrossing fibers that form thousands of air pockets between them. It is very compressible for packing, but bulky when worn. The two drawbacks of down are that it is expensive and it loses its thermal qualities when wet.
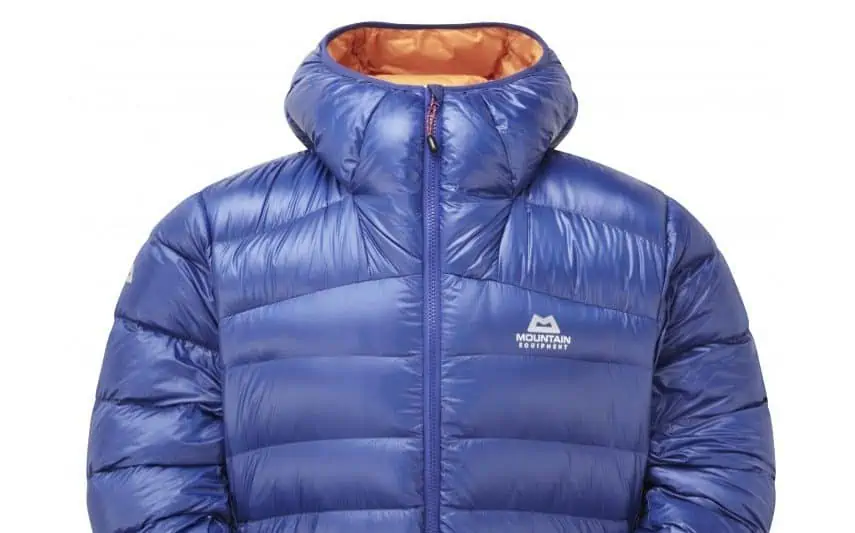
Synthetic insulation is designed to replicate the qualities of down. It’s made with polyester fibers which are not as warm or light as down, but they can still hold warmth when wet. PrimaLoft is a popular type of synthetic down. In general, synthetic down is more affordable than real down.
Here are the mid layers on our gear list:
2 – Soft Jacket, fleece or soft-shell
1 – Insulated Jacket, synthetic or down, warm
1 – Fleece Pants, warm
For the soft jacket, we recommend bringing both a thinner soft jacket and a thicker fleece. And for the insulated jacket, we recommend a robust down jacket versus a puffy “sweater” or ultralight puffer jacket.
Note that a heavyweight down jacket can be used as an outer layer. It can be worn over a thin mid layer, such as a soft-shell jacket, or over an outer layer, such as a hard shell.
Outer Layer
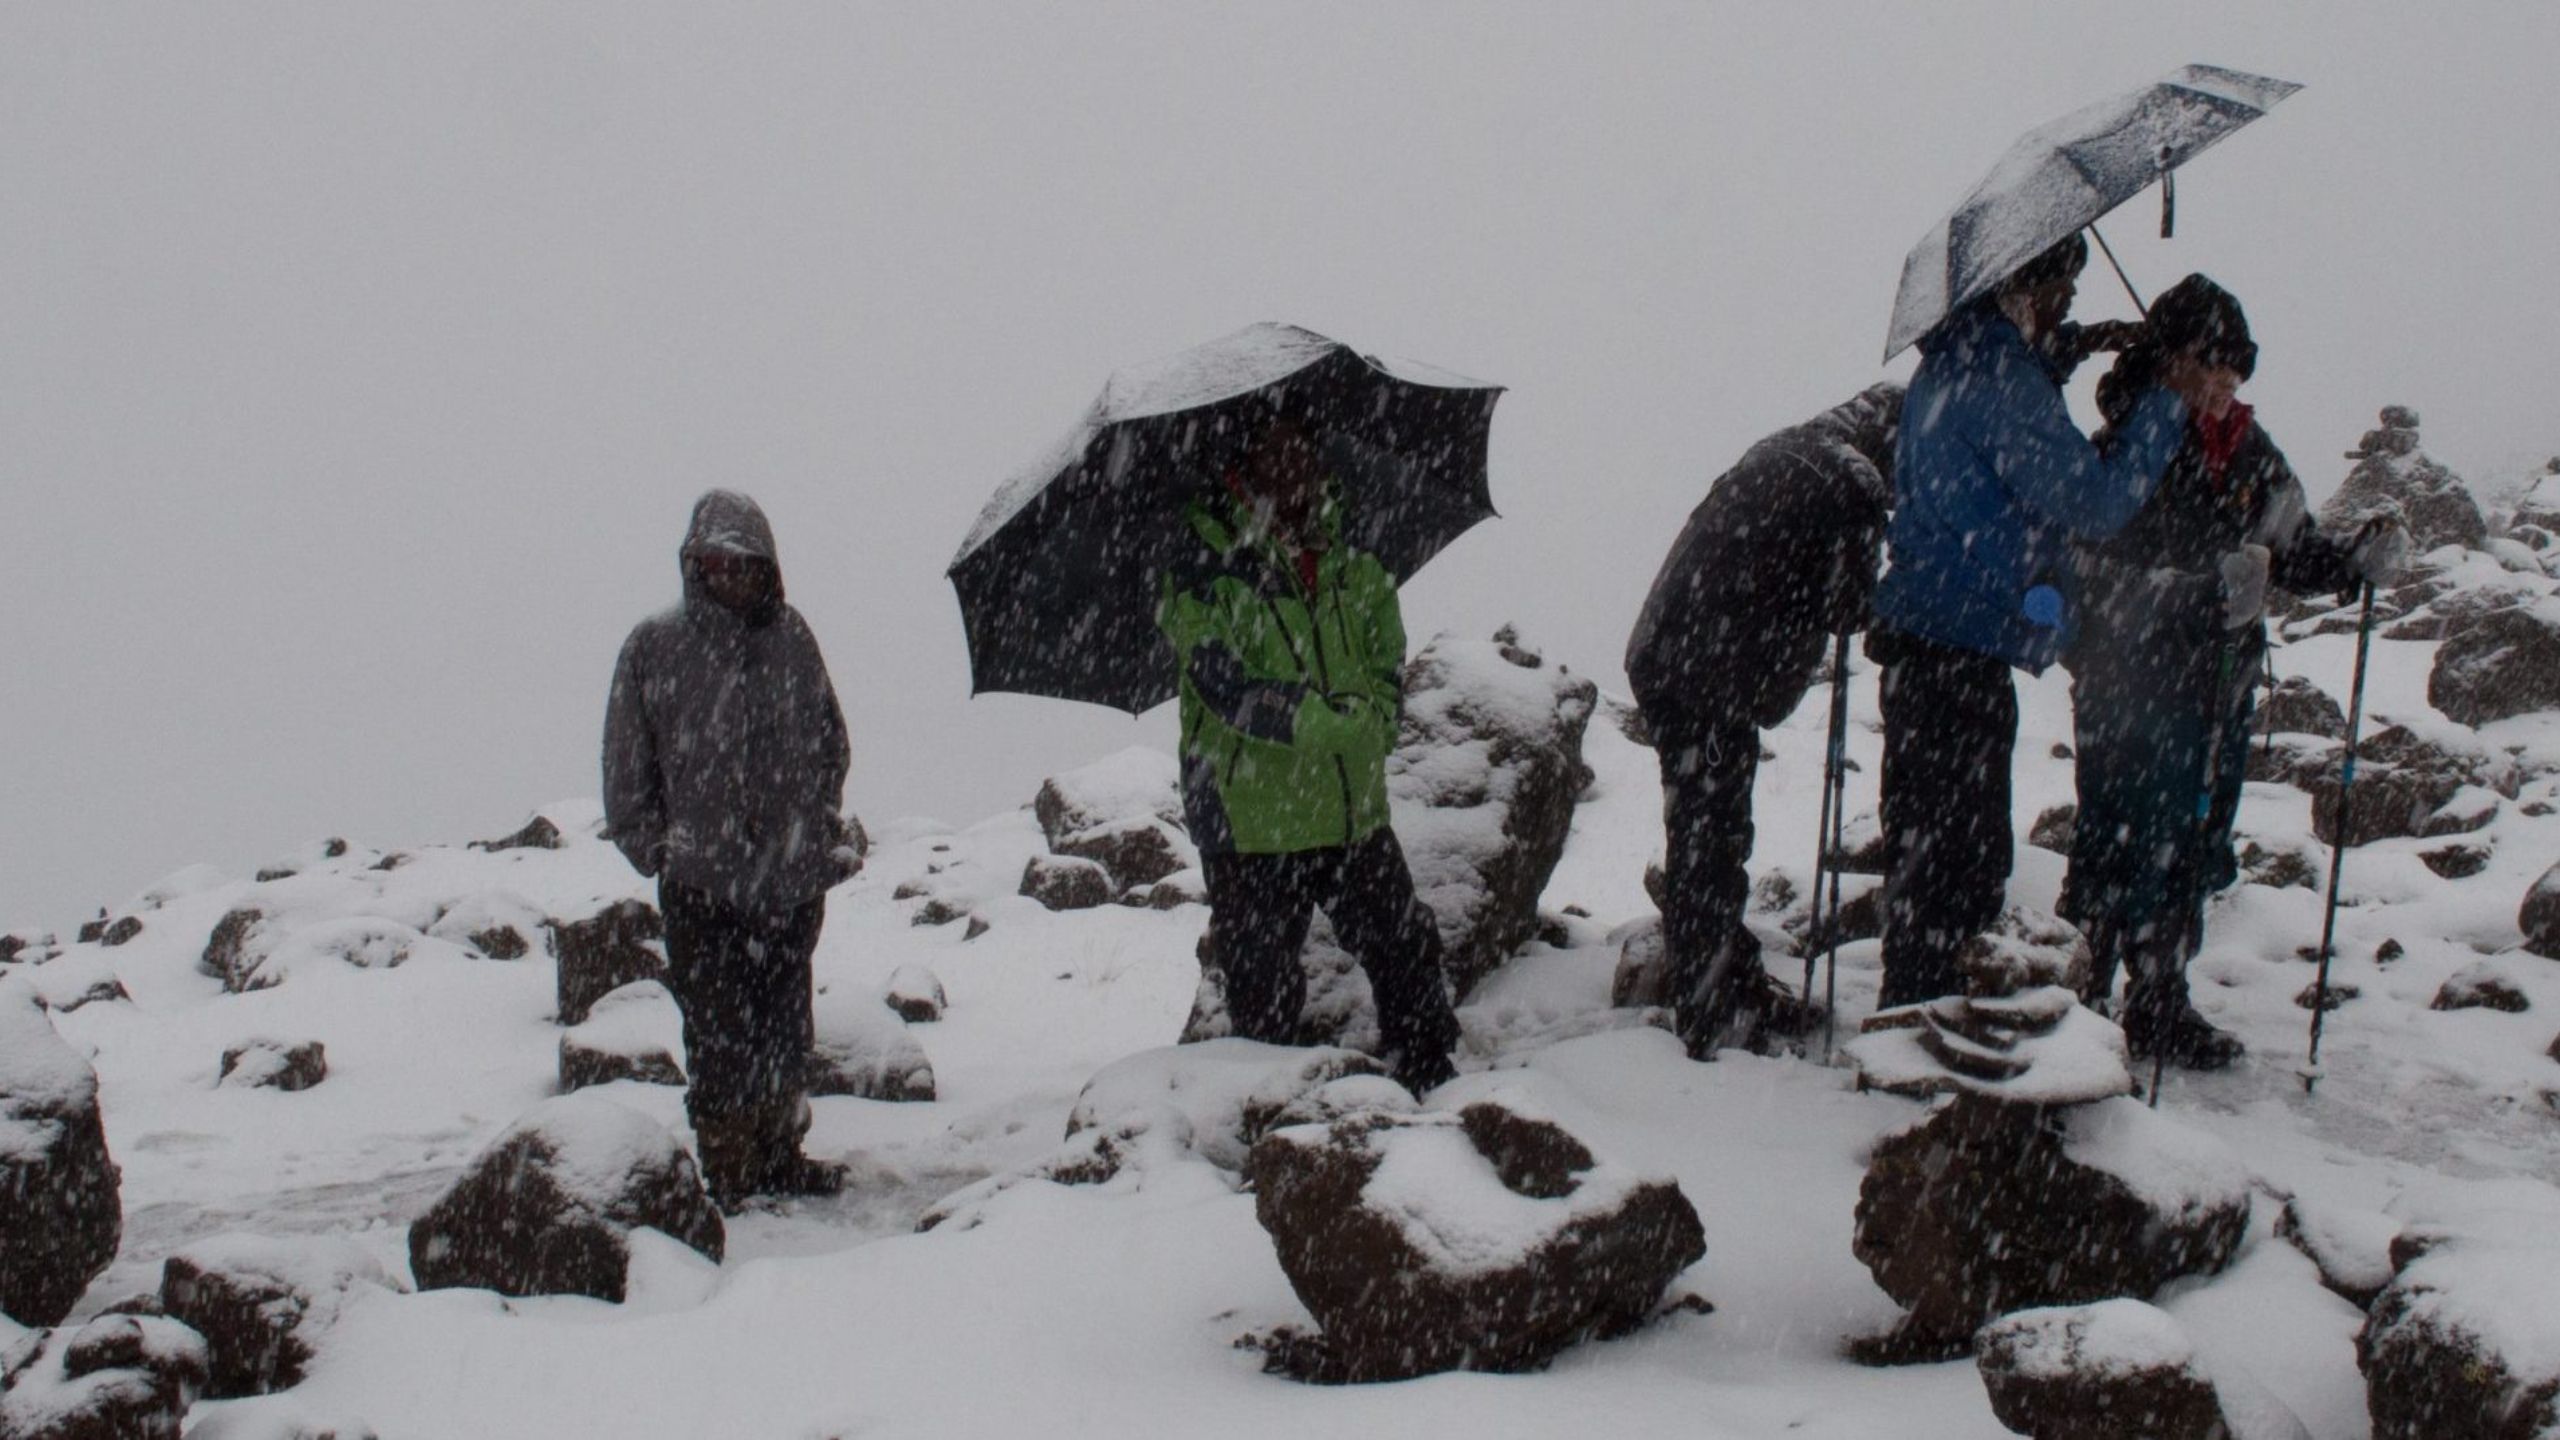
The outer layer is designed to provide protection from the wind, rain and snow. A hard shell will be both waterproof and windproof, yet is made from materials that still offers breathability. The jacket’s membrane contains microscopic pores that block large water molecules from getting in while letting smaller vapor molecules out. That way, it keeps you dry from both exterior and interior moisture (rain and sweat).
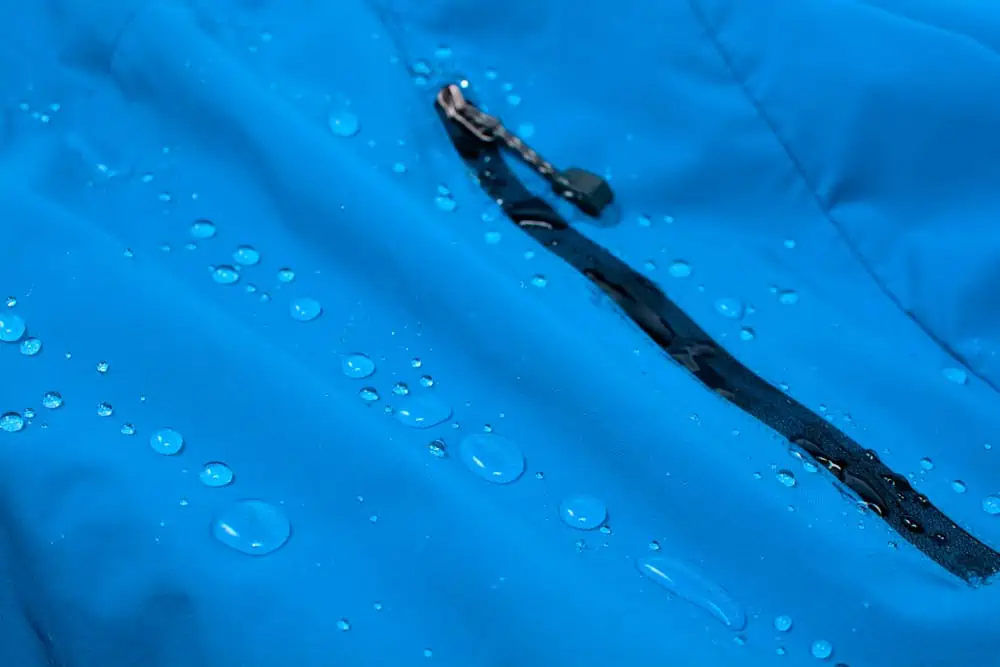
1 – Waterproof Jacket, breathable with hood
1 – Waterproof Pants, breathable (side-zipper recommended)
Rain jackets and raint pants are constructed with multiple layers of fabrics. There are 2 layer, 2.5 layer and 3 layer garments.
A 2 layer jacket consists of a face layer, usually nylon or polyester, with a Durable Water repellent (DWR) coating and a second waterproof layer. DWR works by pushing water away. It is what makes water bead up and roll off of the fabric. The second layer is the waterproof breathable membrane (ie., GoreTex).
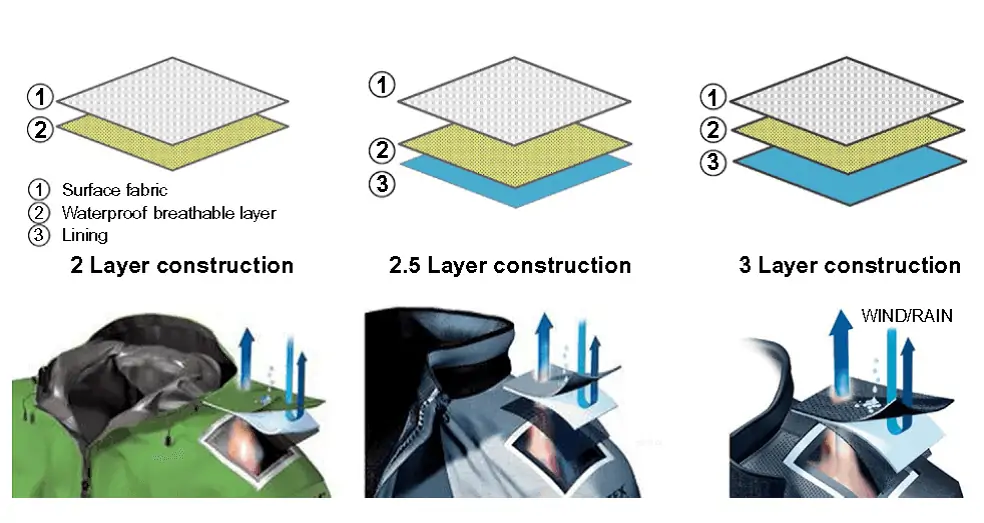
A 2.5 layer jacket adds a printed or sprayed-on layer over the second layer, on the inside of the jacket. The purpose of this half layer is to provide added durability by protecting the waterproof membrane.
A 3 layer jacket is the toughest and best performing rain jacket. It has a dedicated inner liner instead of the printed or sprayed-on layer found in a 2.5 layer jacket. 3 layer jackets are usually stiffer and crispier than jackets with less layers.
A standard rain jacket made with either 2, 2.5, or 3 layer construction should provide more than enough waterproof protection on Kilimanjaro.
Putting It All Together
Together these layers come together to form an effective barrier to any weather elements that you may endure on Kilimanjaro.
To recap, the base layer transfers moisture away from the skin to keep you dry. The soft jackets are mid layers that keep you warm. The hard shell is the outer layer that blocks wind and water. And the insulated layer is a heavy duty outer layer.
All layers should be made with technical fabrics that have some degree of breathability.
Other Clothing & Accessories
Finally, we have other garments and accessories that don’t really belong in the base layer, mid layer or outer layer categories. These items from our gear list are:
1 – Brimmed Hat, for sun protection
1 – Knit Hat, for warmth
1 – Neck Gaiter, for sun, wind and warmth
1 – Gloves, light
1 – Gloves, warm (waterproof recommended)
2 – Hiking Pants
1 – Shorts (optional)
4 – Socks, wool or synthetic
1 – Hiking Boots or Shoes, waterproof, warm
1 – Gaiters, waterproof (optional)
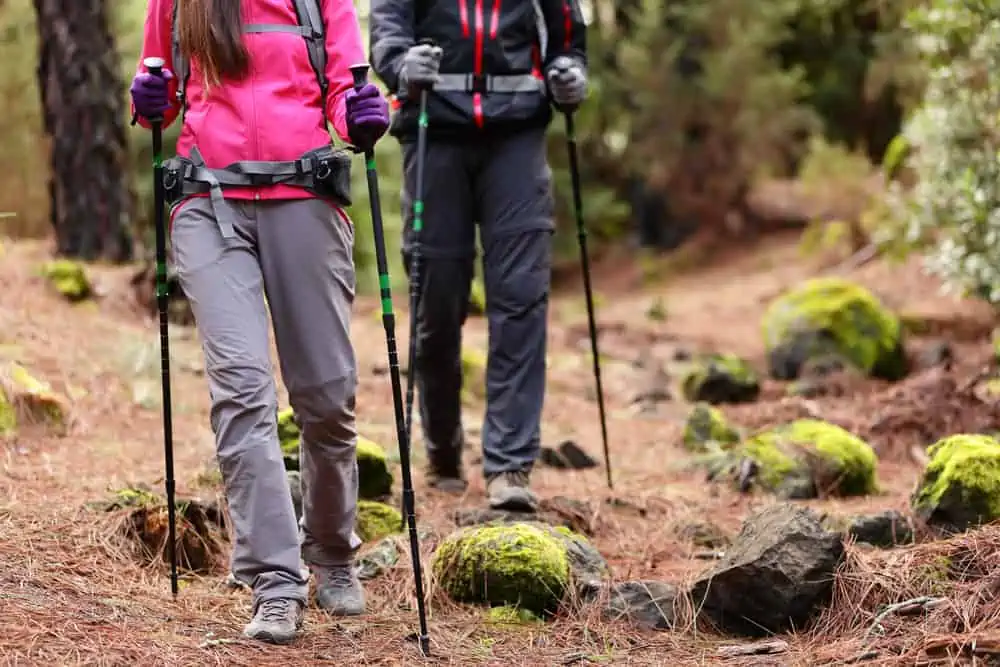
With the above listed gear, you should be able to withstand whatever weather conditions Mount Kilimanjaro has in store for you from head to toe.
For most of the day hiking, in normal weather conditions, you will be wearing either just the base layer on top or the base layer plus a jacket, usually the soft shell, and trekking pants. As long as you are moving the body stays warm. This is true for even the upper slopes of the mountain, provided there is not a strong wind or rain.
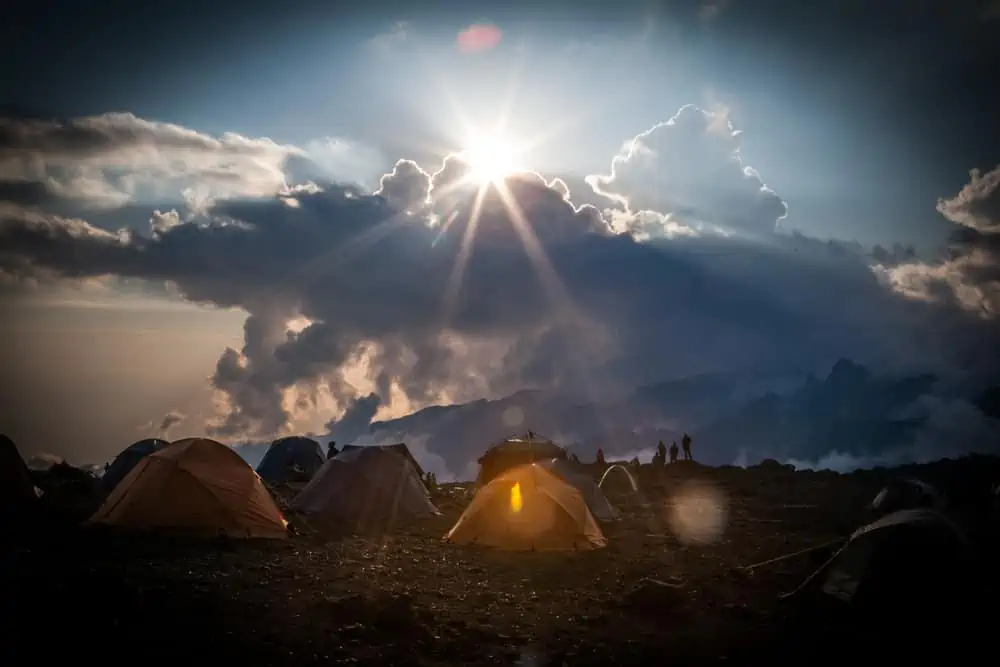
In the evenings, as the temperature drops, you will be wearing your insulated jacket, warm hat, and perhaps fleece pants to keep warm. Protecting your body will save energy and thus help with recovery and acclimatization. Try not to endure cold temperatures needlessly if you simply can add layers to be more comfortable.
Some clients ask months before their departure what the temperatures will be for each day of the route and what they should have on. The mountain is an uncontrolled environment! It is impossible to know ahead of time. You start each day on the trail wearing what is appropriate for that particular time. In the day pack, you carry the gear you think you might need based on your best guess.

As you hike, it is important to be cognizant of changing conditions and adapt accordingly. You may need to unzip your jacket or shed layers before you sweat. You may need to put on your warm hat or add your hard shell to stop the wind.
Don’t be afraid of the weather. WIth the right kit, you’ll have all the tools you need to shake off any adverse conditions the mountain may throw at you. Be flexible, stay aware and you’ll do just fine.


